Tutorial135—RAILGUN TUTORIAL
CONCEPT RailGun
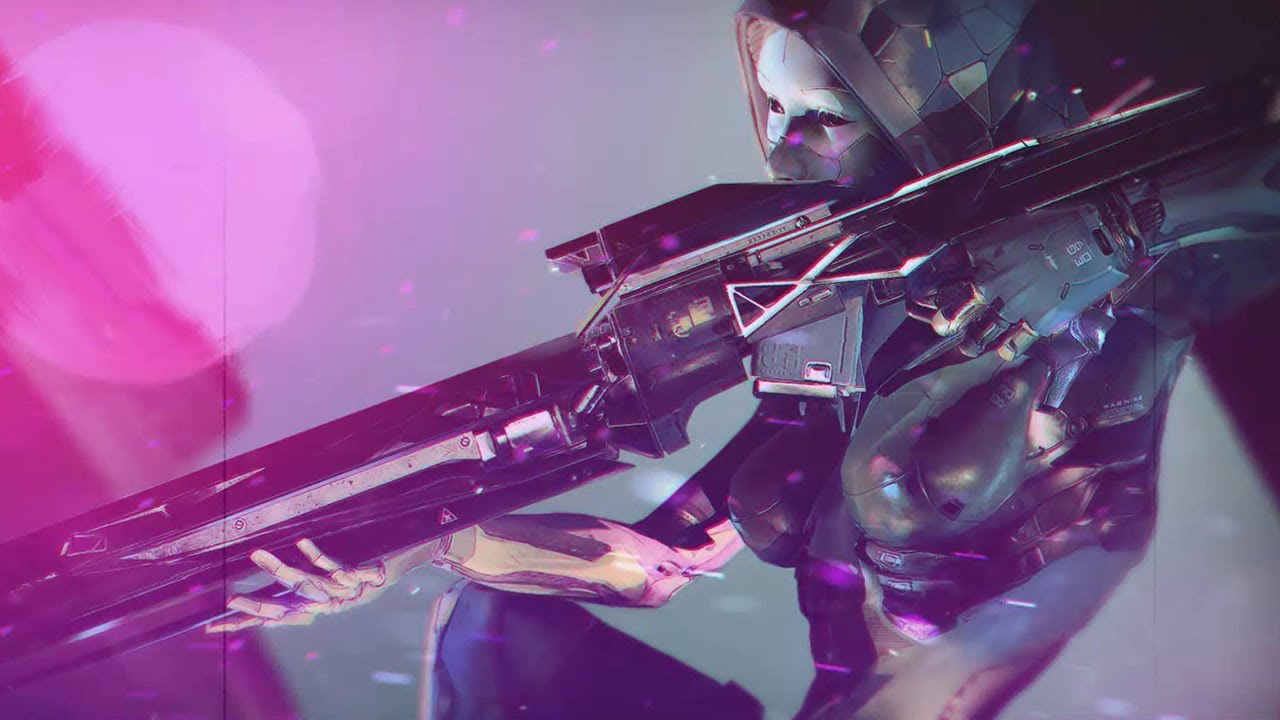
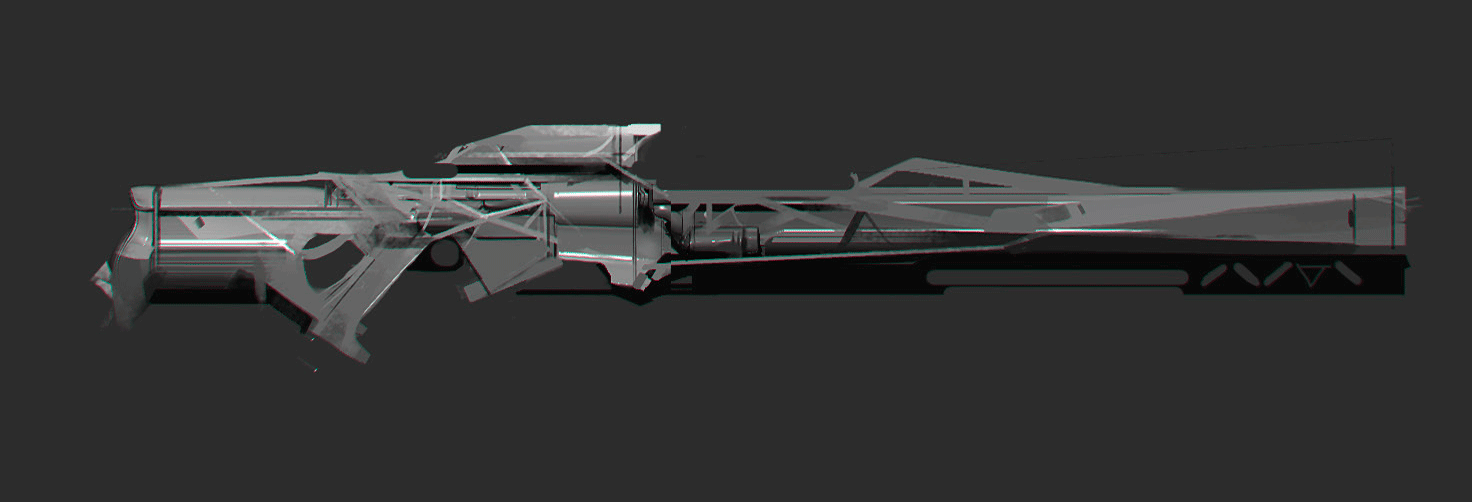
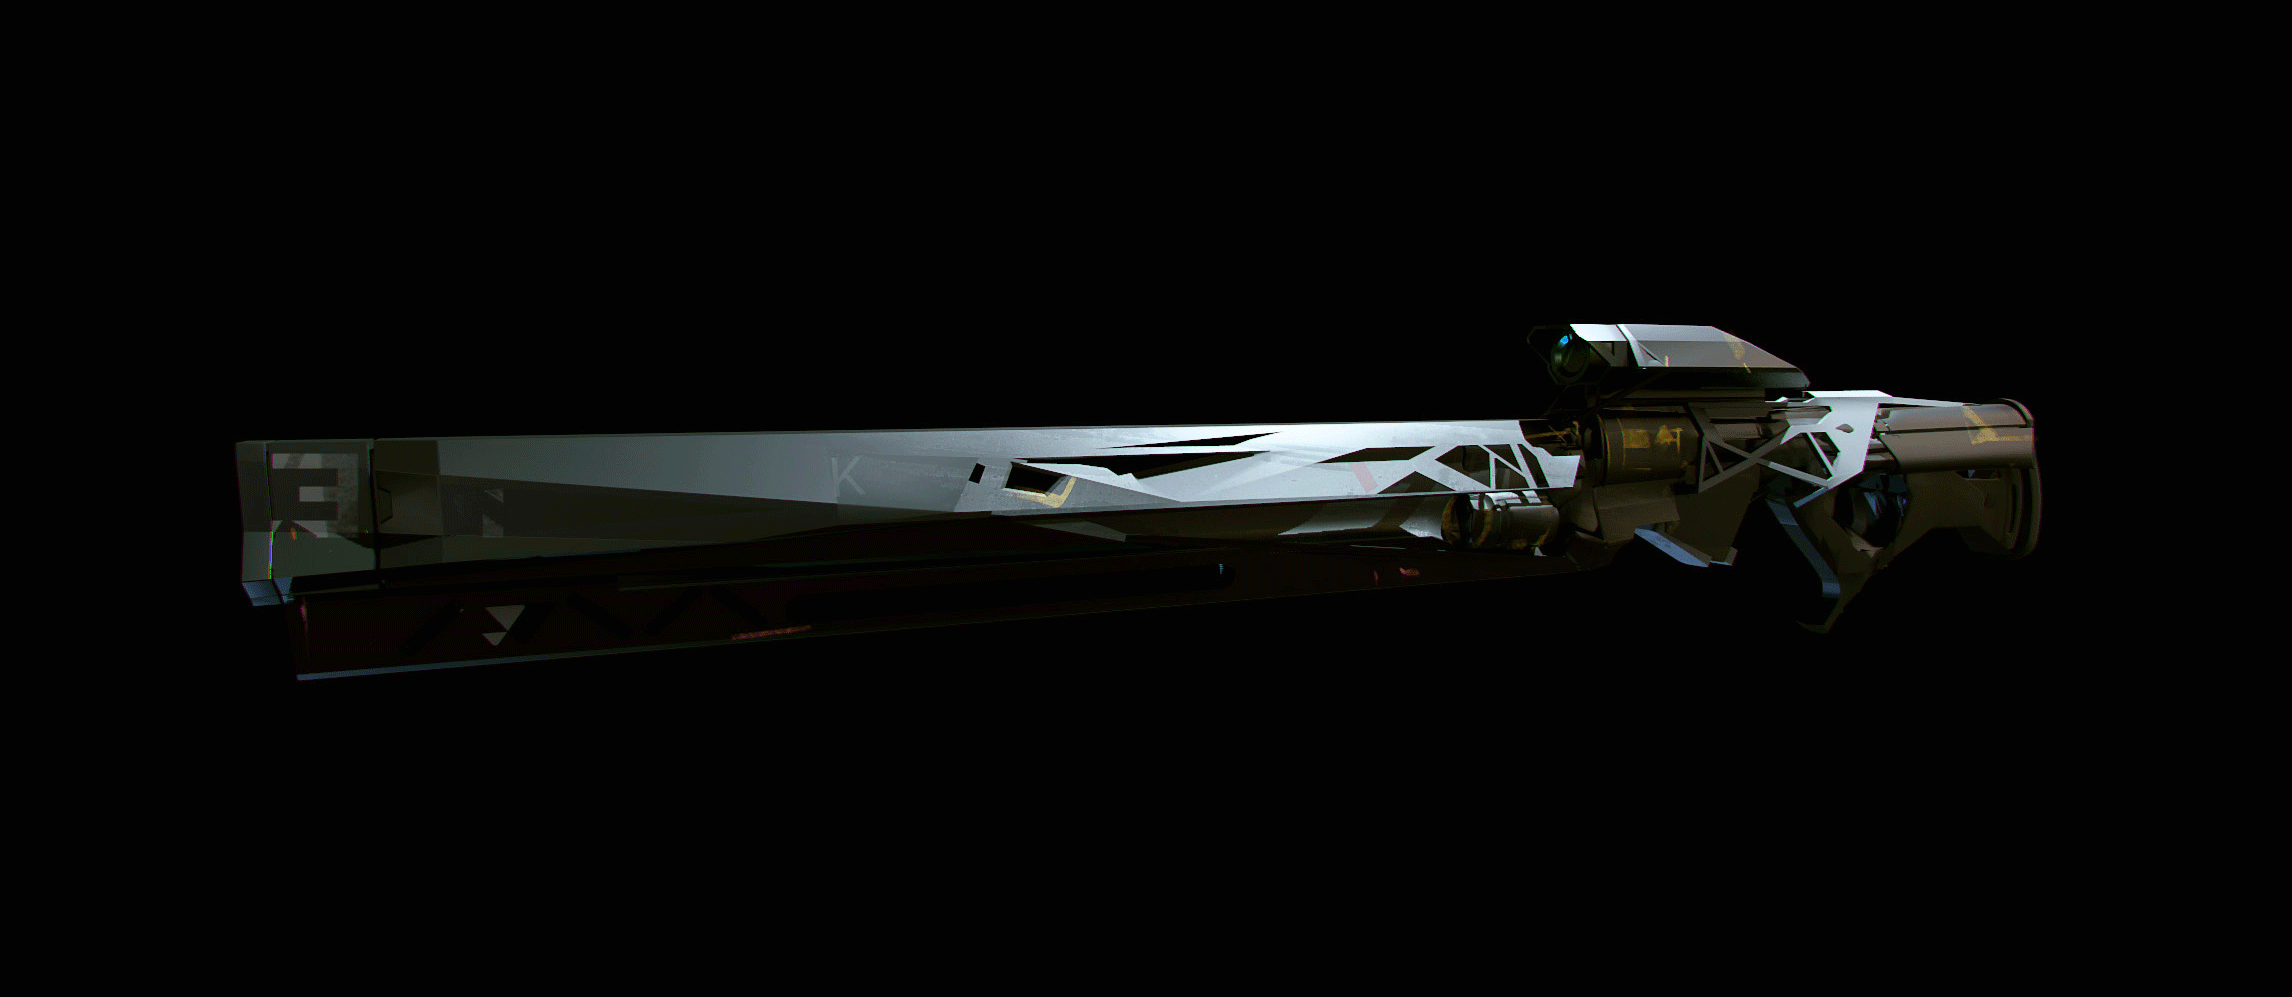
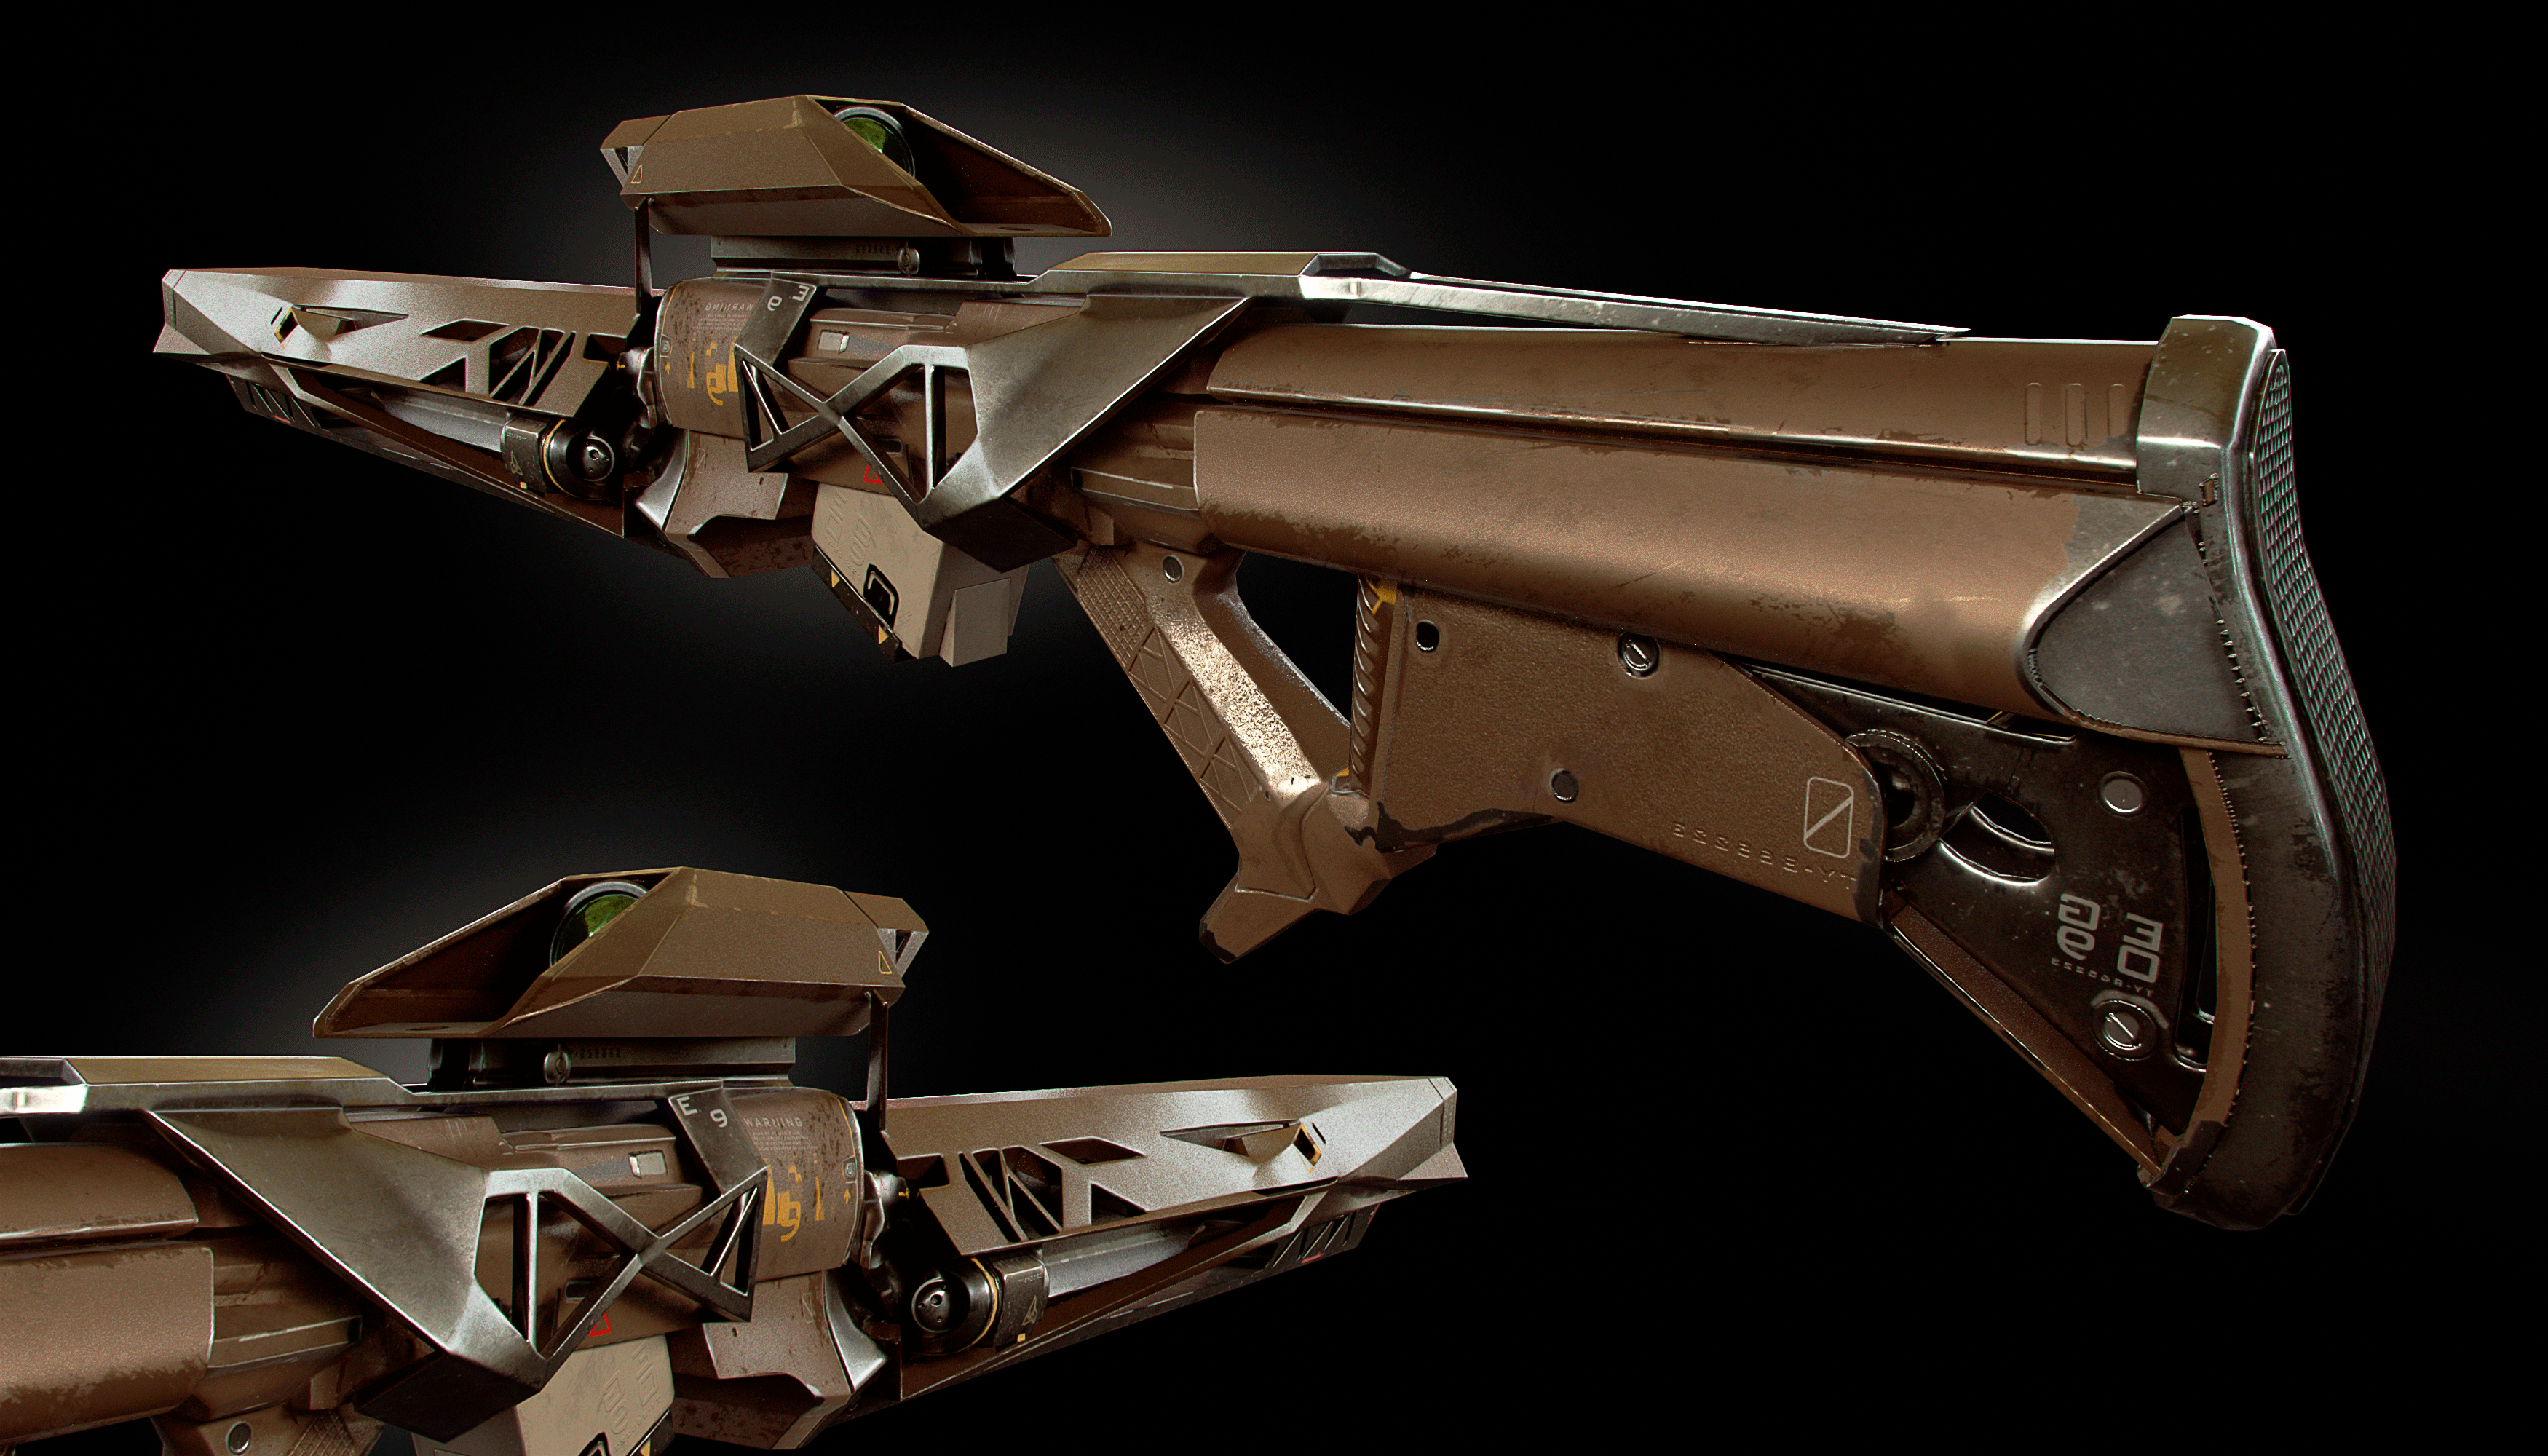
The project allowed me to create weapons from the distant 2000. At that time, my soul was owned by games like the Unreal tournament and Quake. The goal was to convey the feel of good old Railgun. In the central part of the weapon with the help of sharp
The project allowed me to create weapons from the distant 2000. At that time, my soul was owned by games like the Unreal tournament and Quake. The goal was to convey the feel of good old Railgun. In the central part of the weapon with the help of sharp
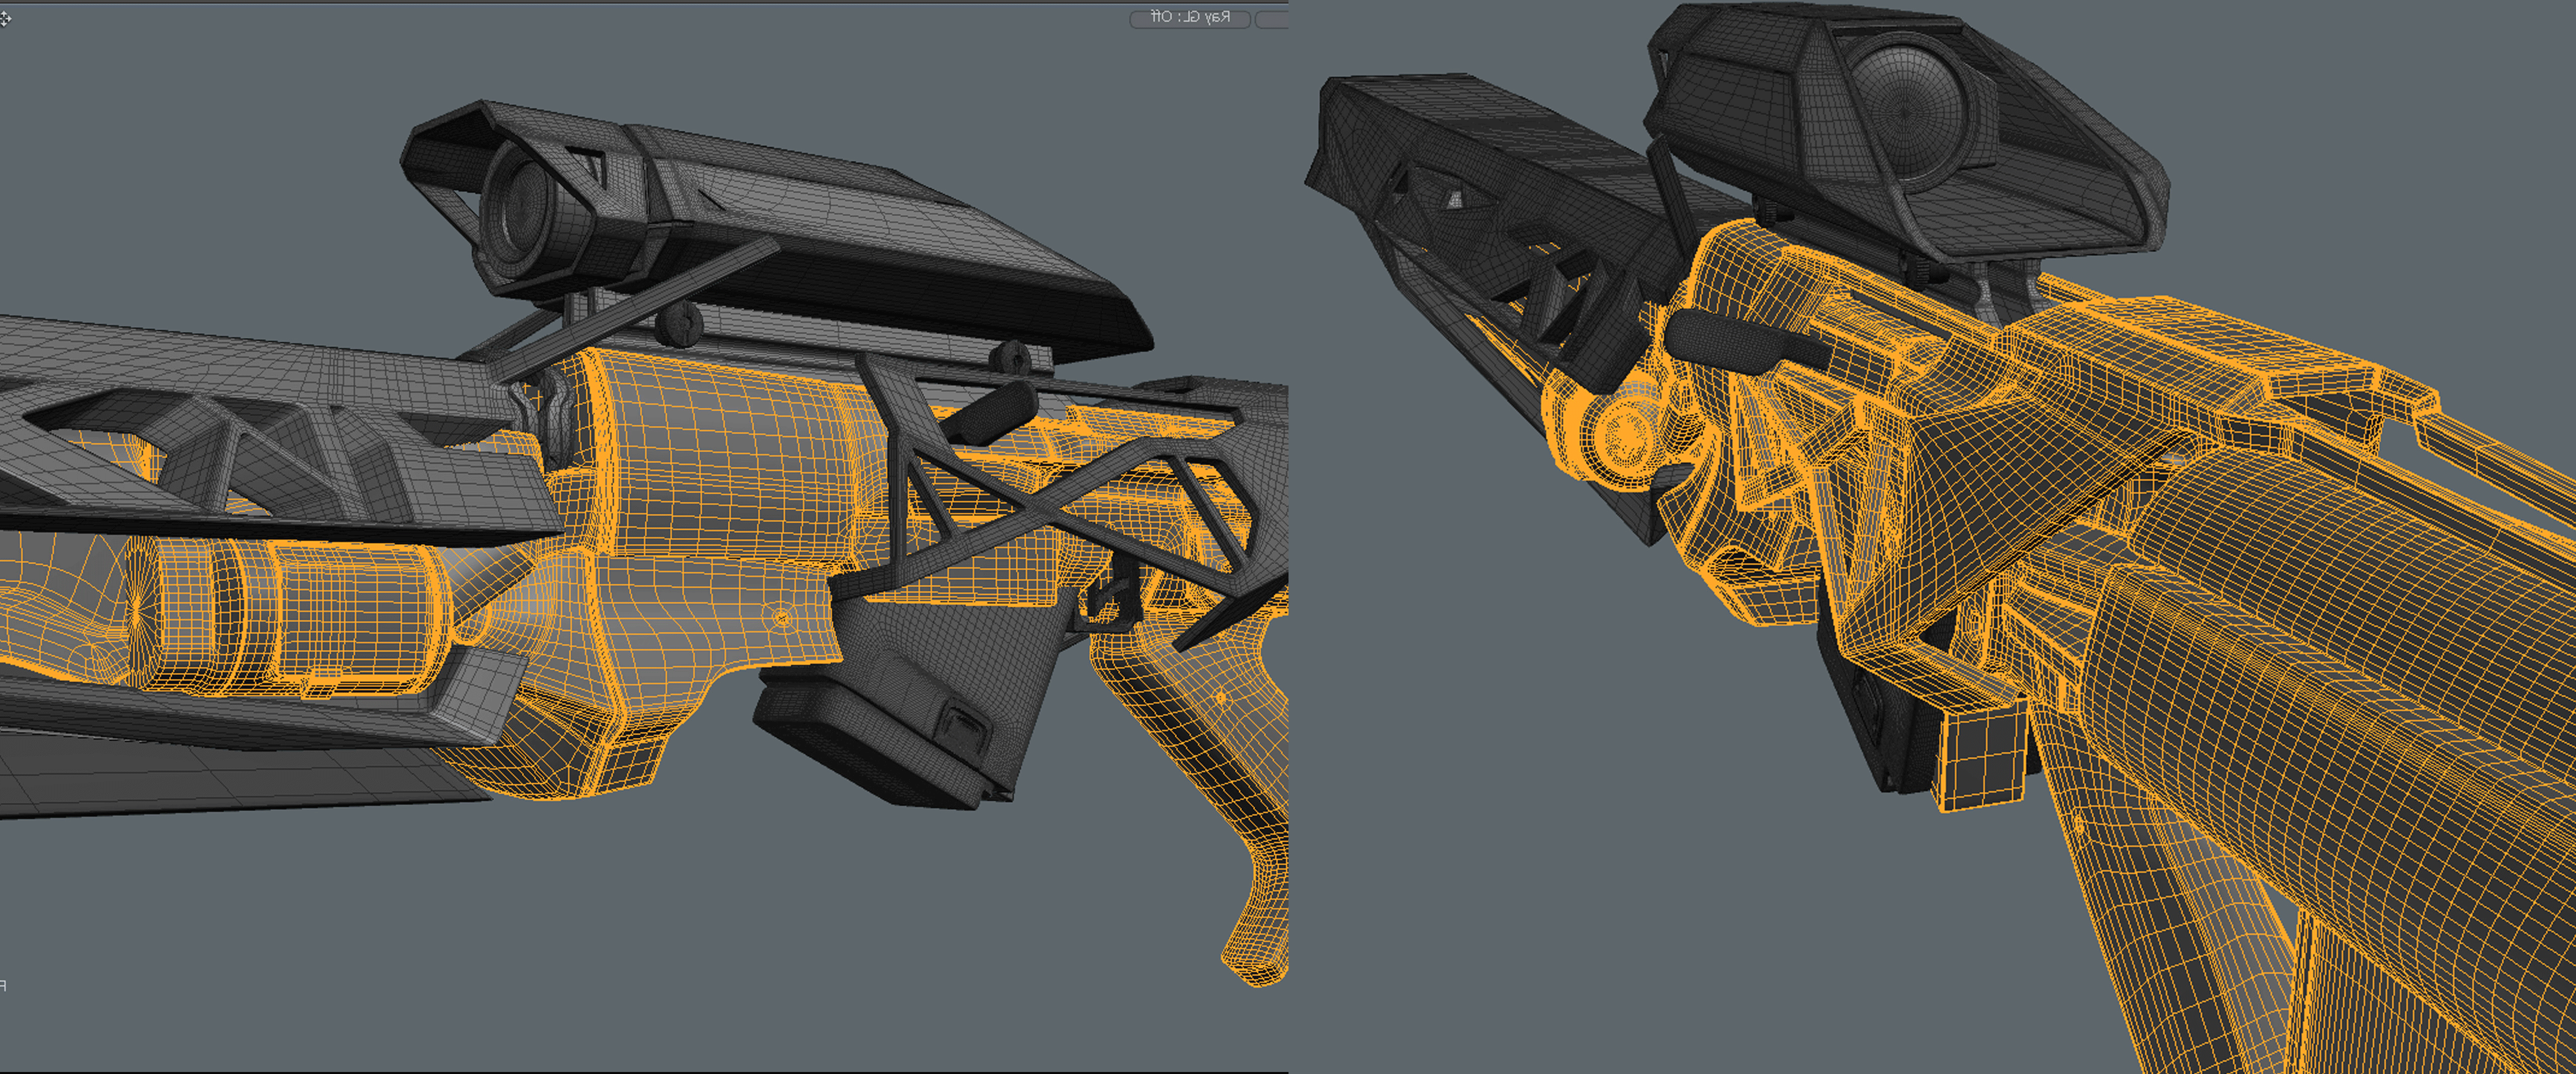
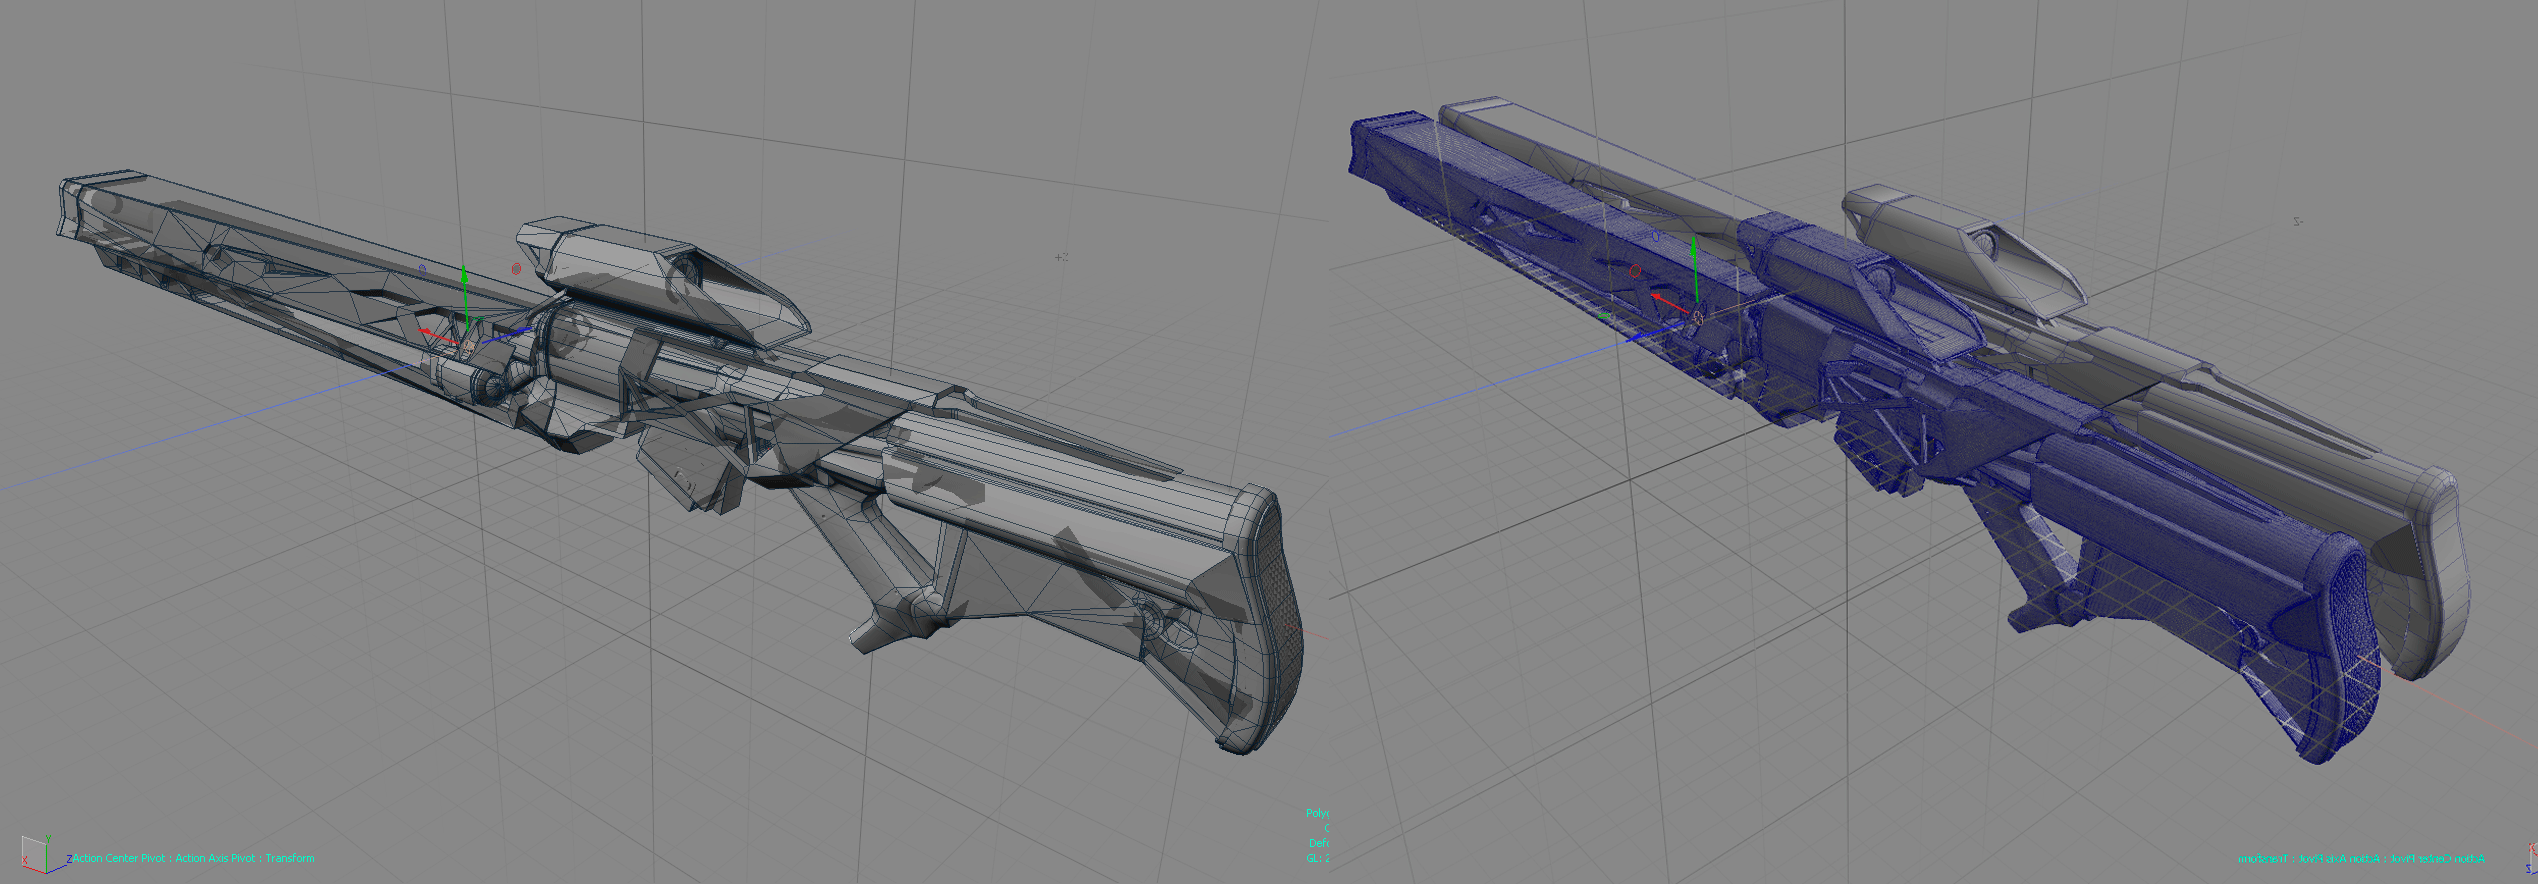
Hi-poly
As shown by my experience, a good idea does not appear immediately. Personally, I have a good idea only after the second draft. This approach to work took root immediately. It happened after I began to calmly accept the result of my work and indifferently
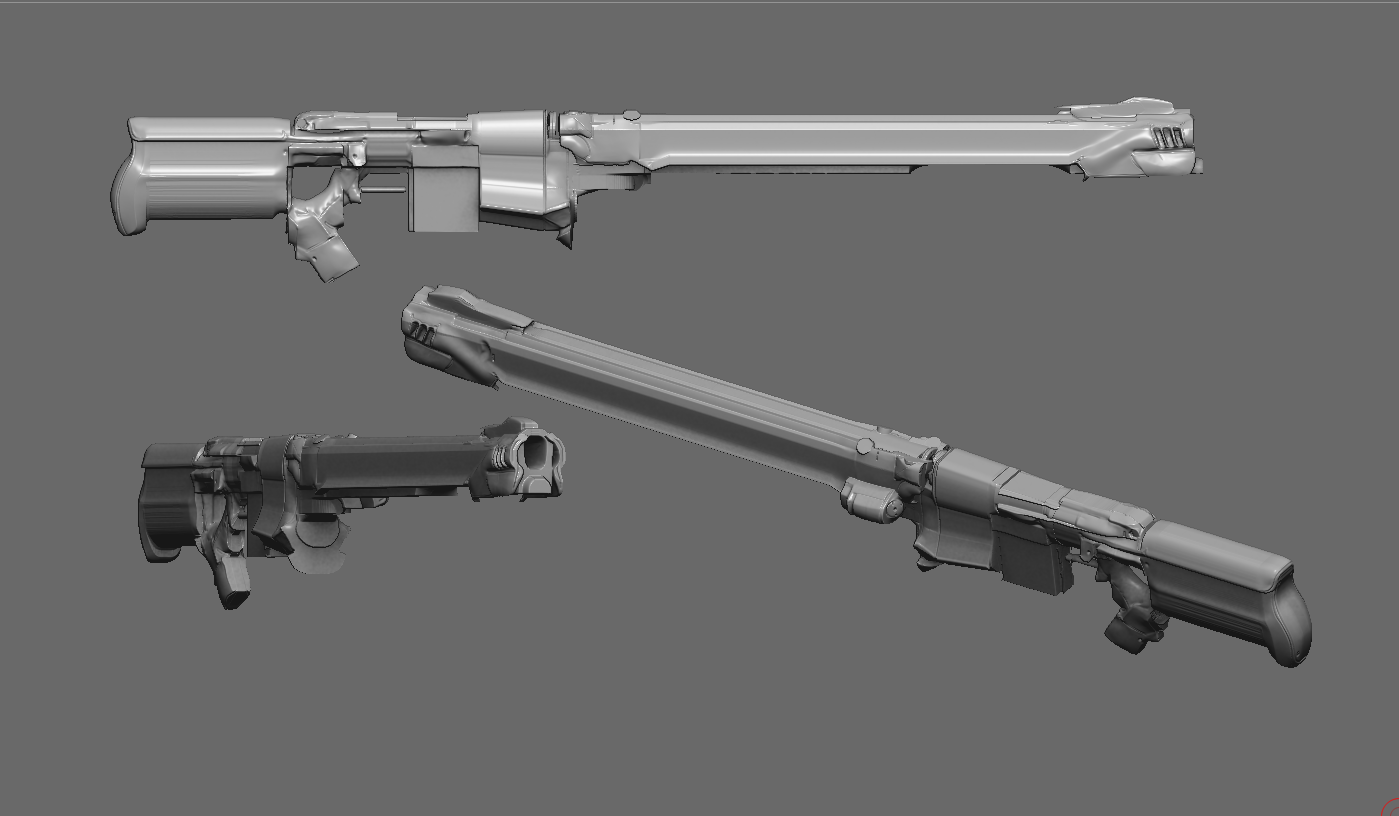
To date, this approach looks like a standard for game projects. The only thing I allow myself is to adjust the design in Photoshop in a similar way. At the last iterations of the model, many unnecessary lines and details are missing. The first 3d sketch
In order to meet the deadlines, we had to sacrifice the quality of the subdivision of the grid and not waste time on distributing all the stars. This approach is not the norm for all projects, but made an exception here. In general, a grid with undivided
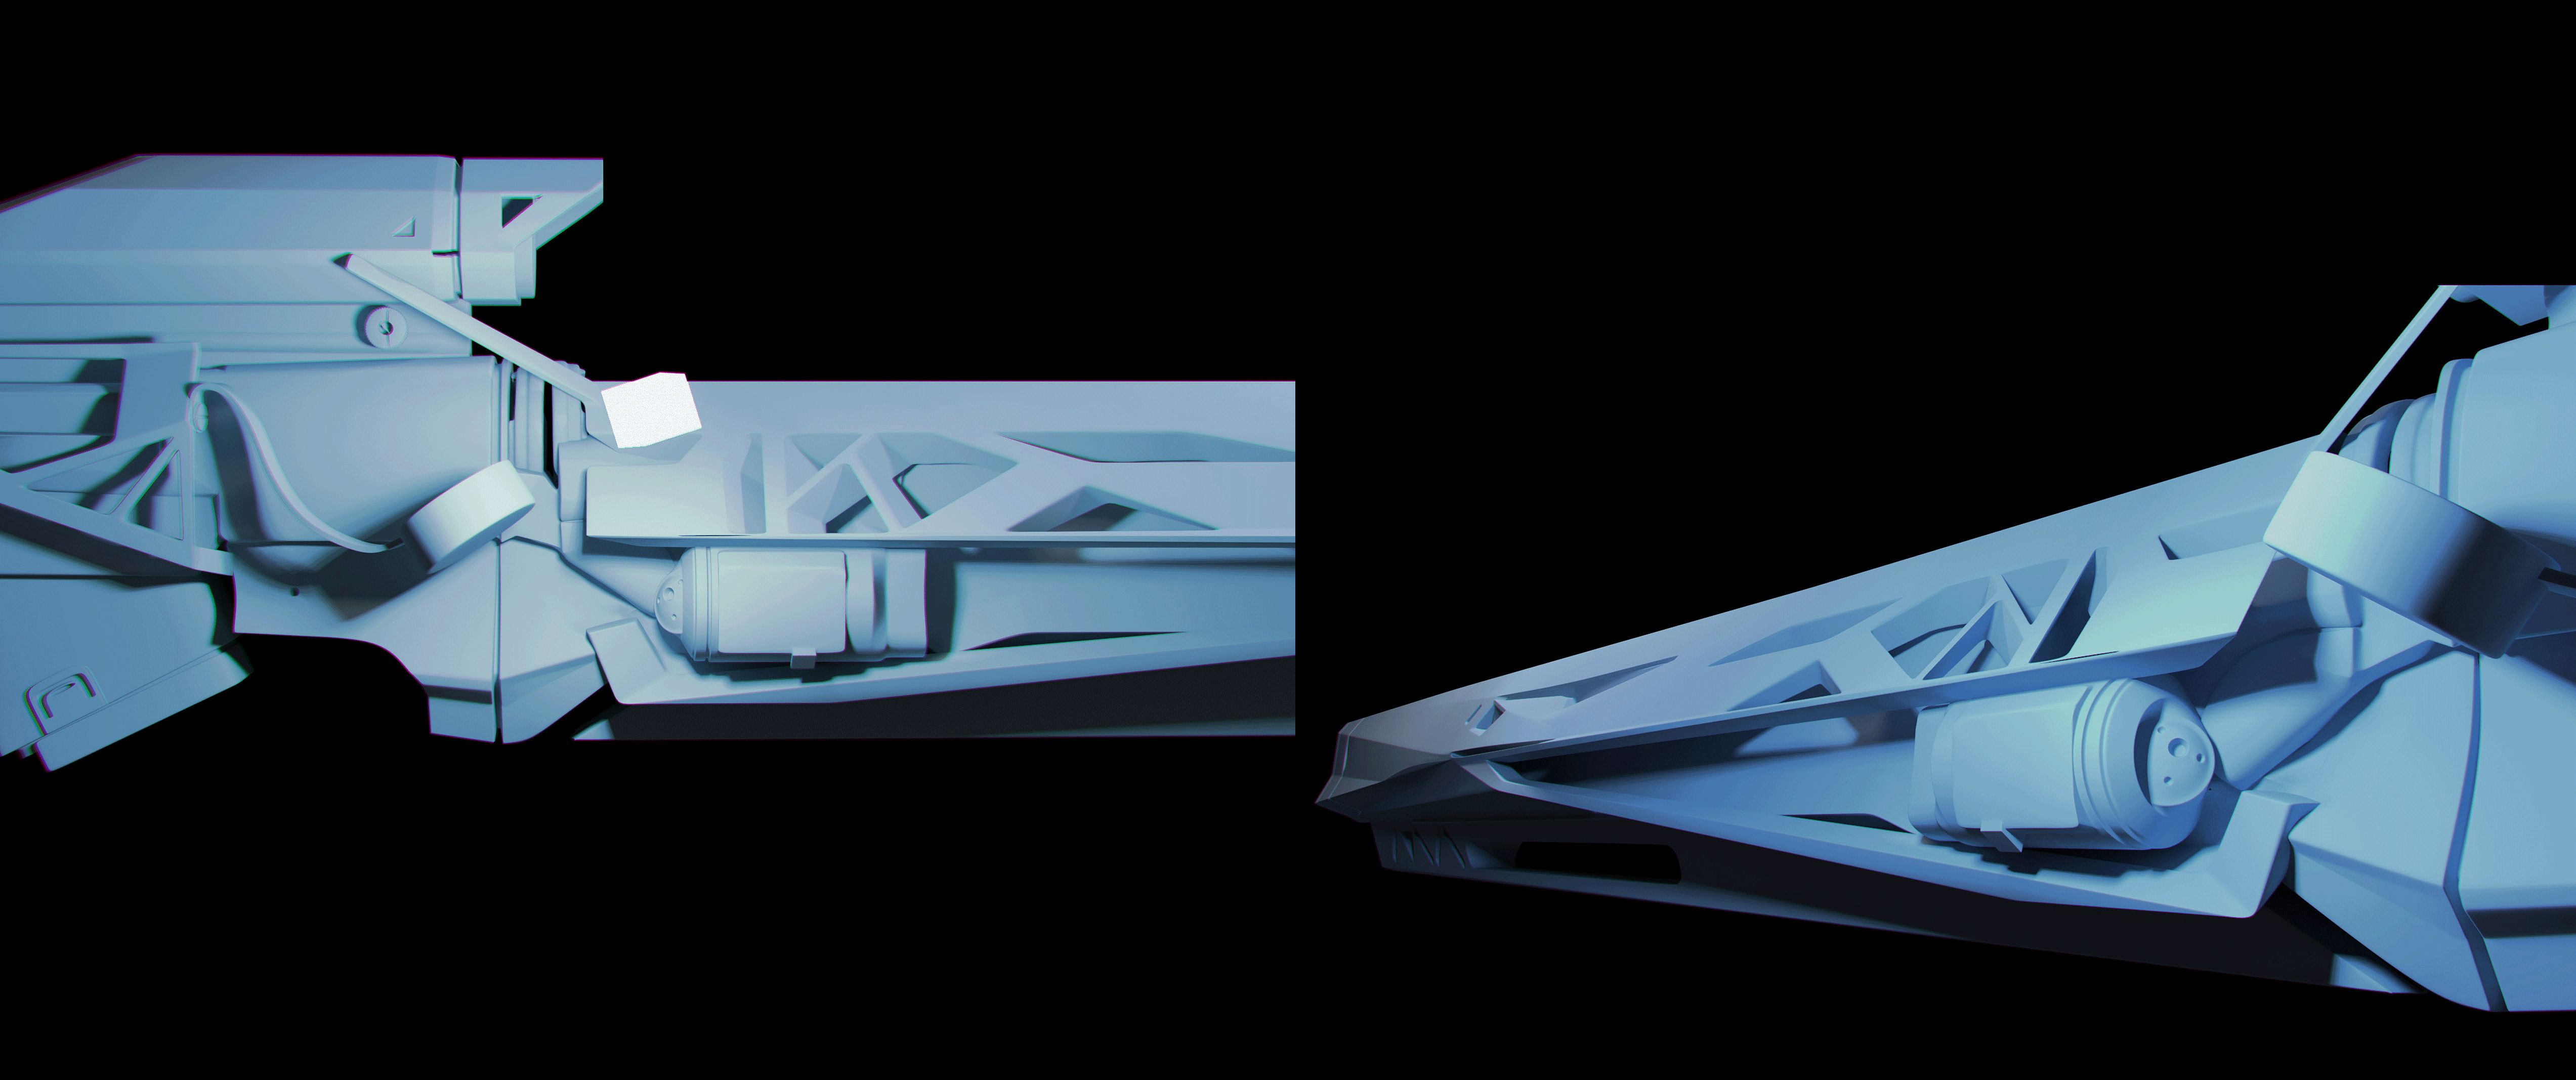
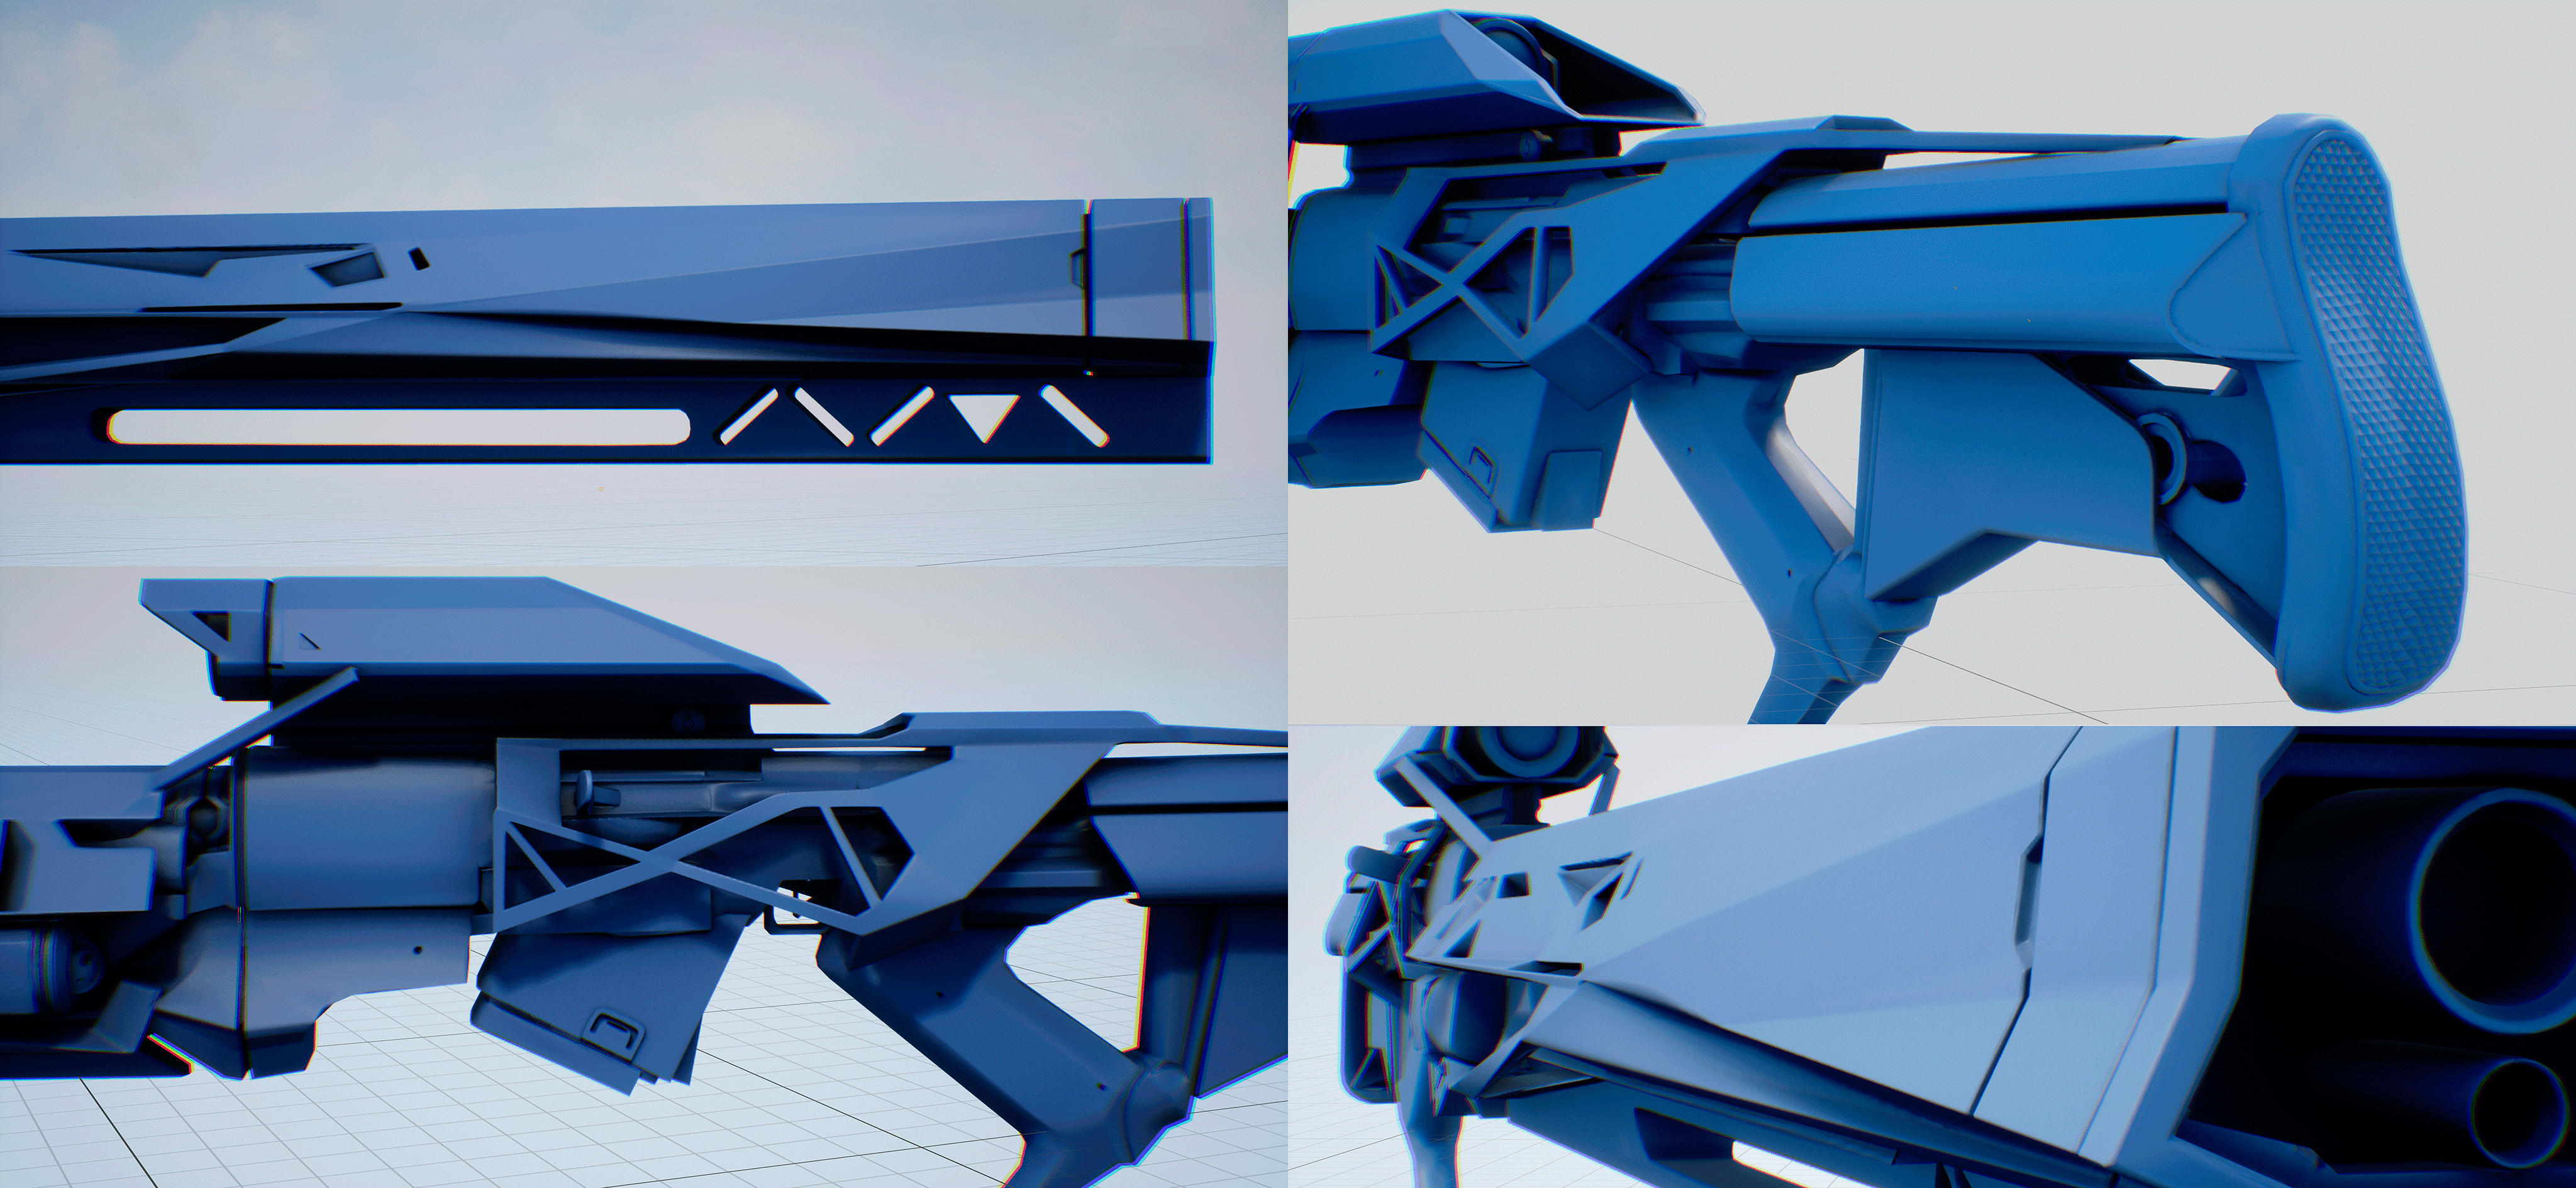
The result was a good hard surface. The project also had analogues of hi_poly quality, and they gave a good guideline about where you can not waste time on the grid. (keyshot rendering)
basic tools
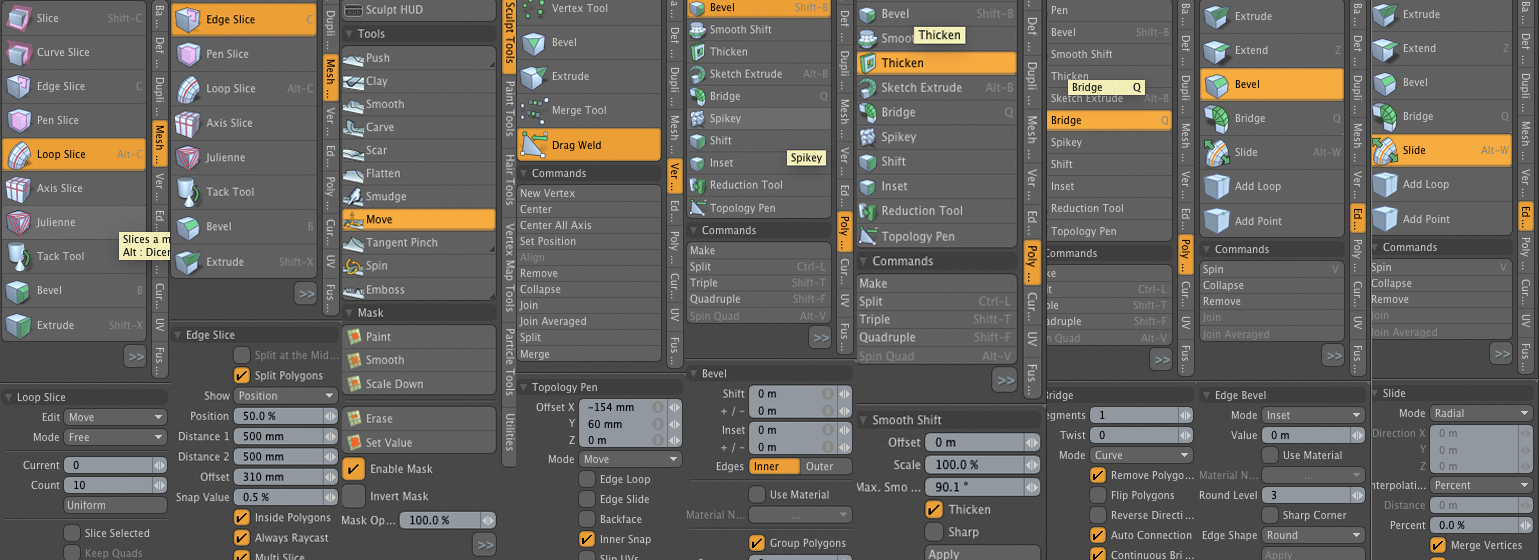
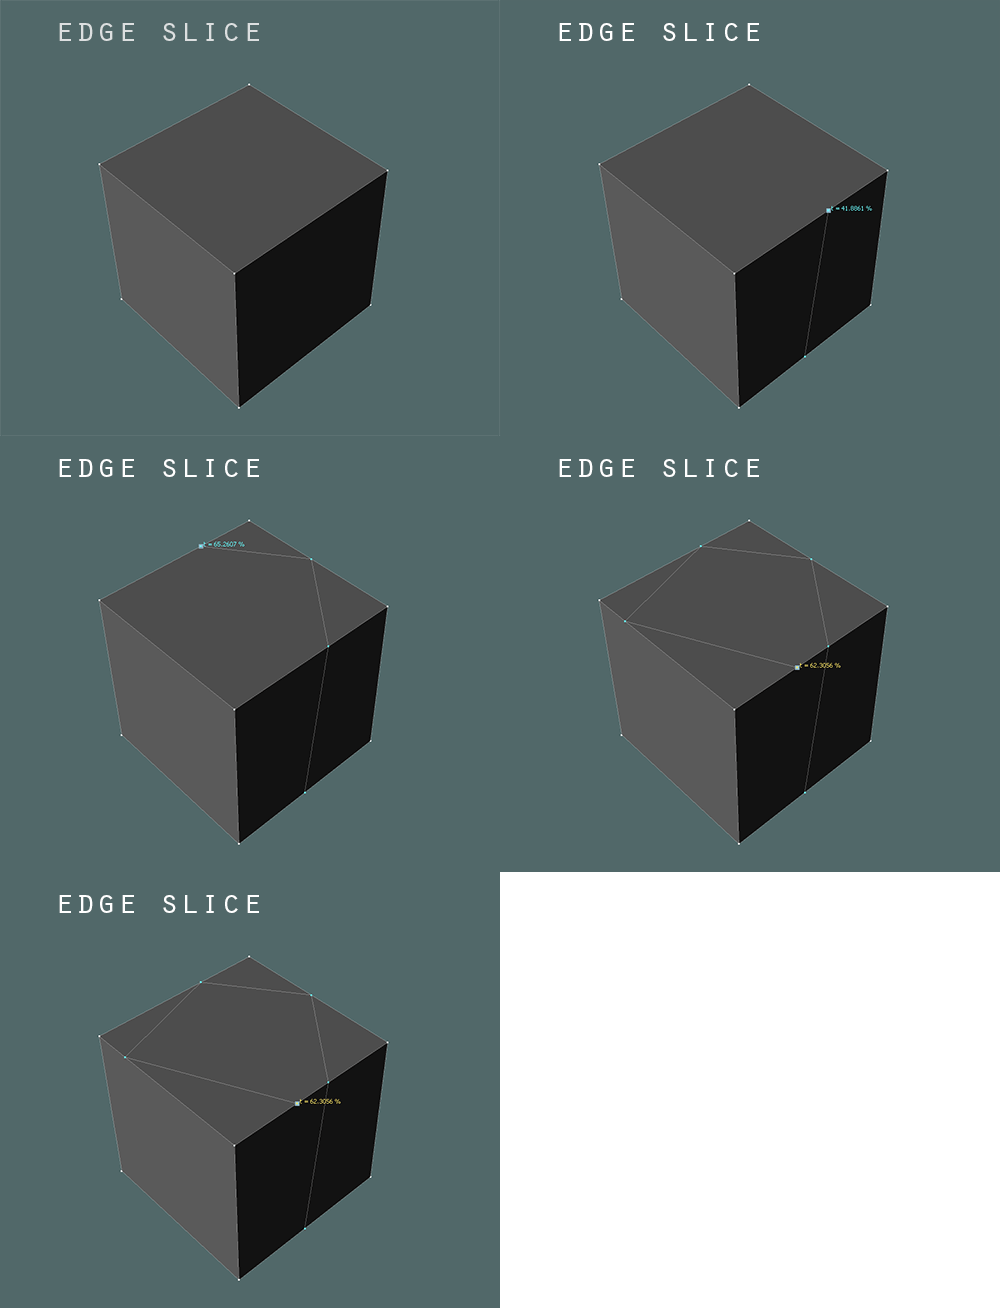
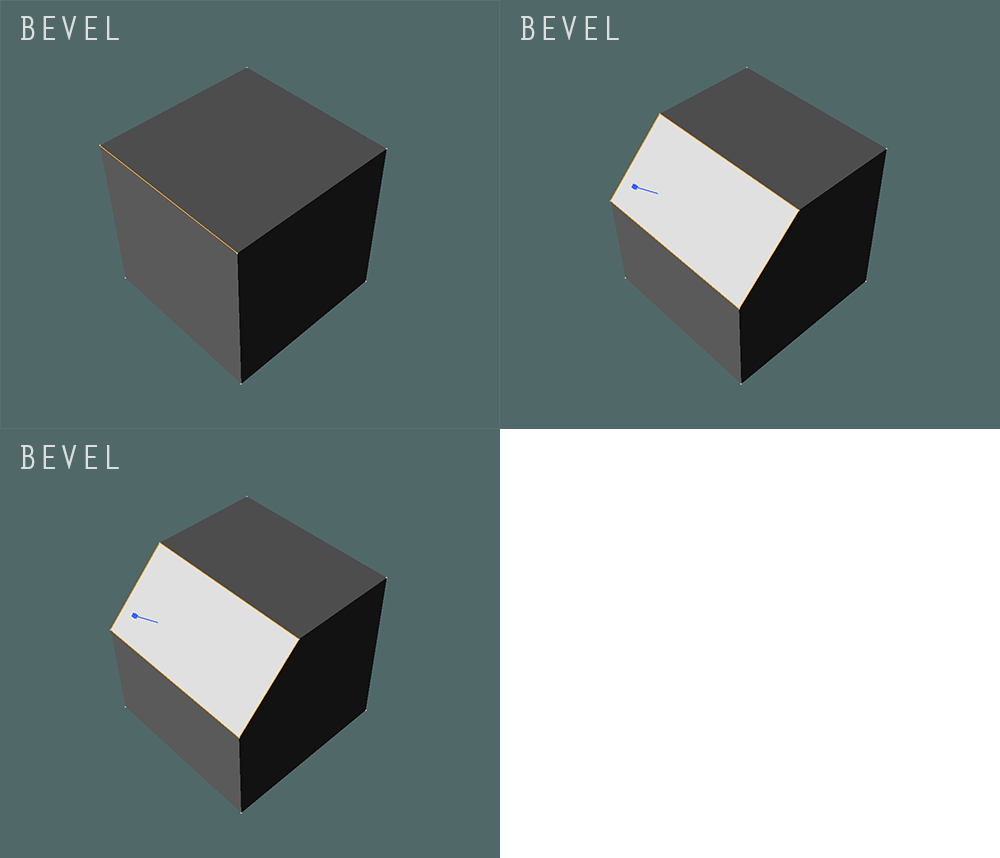
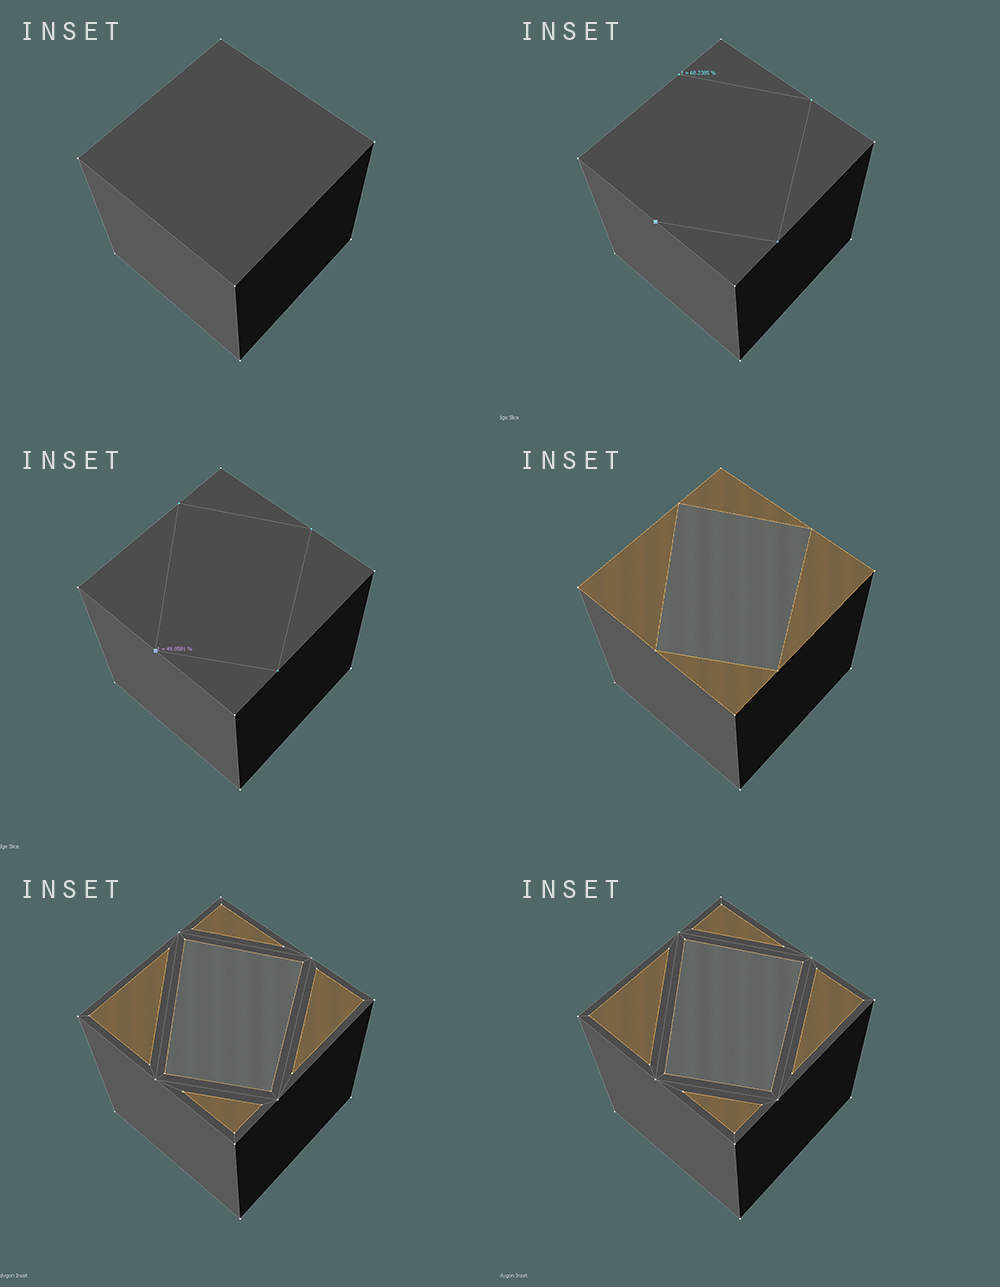
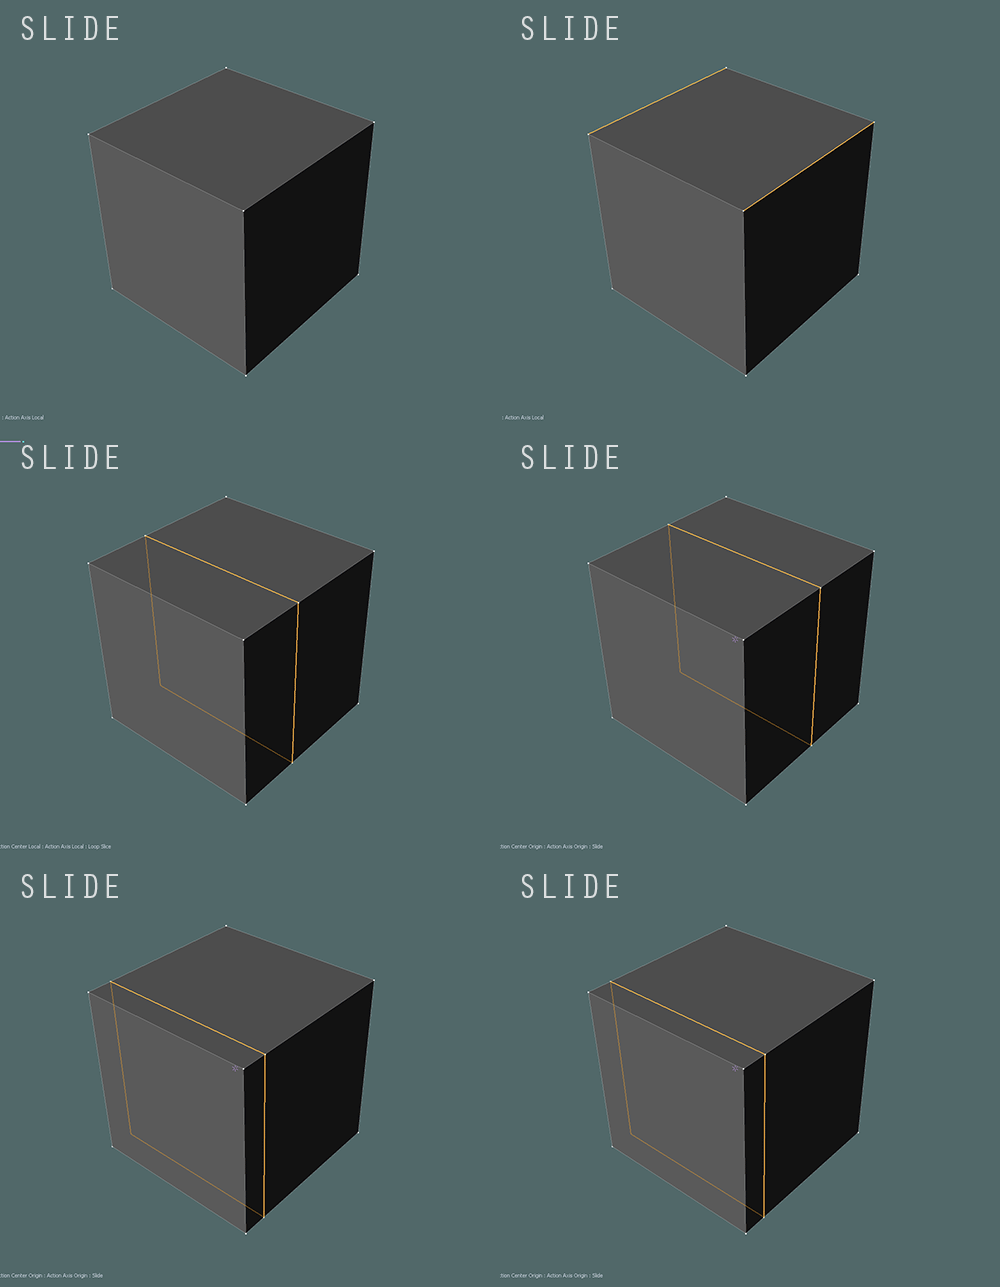
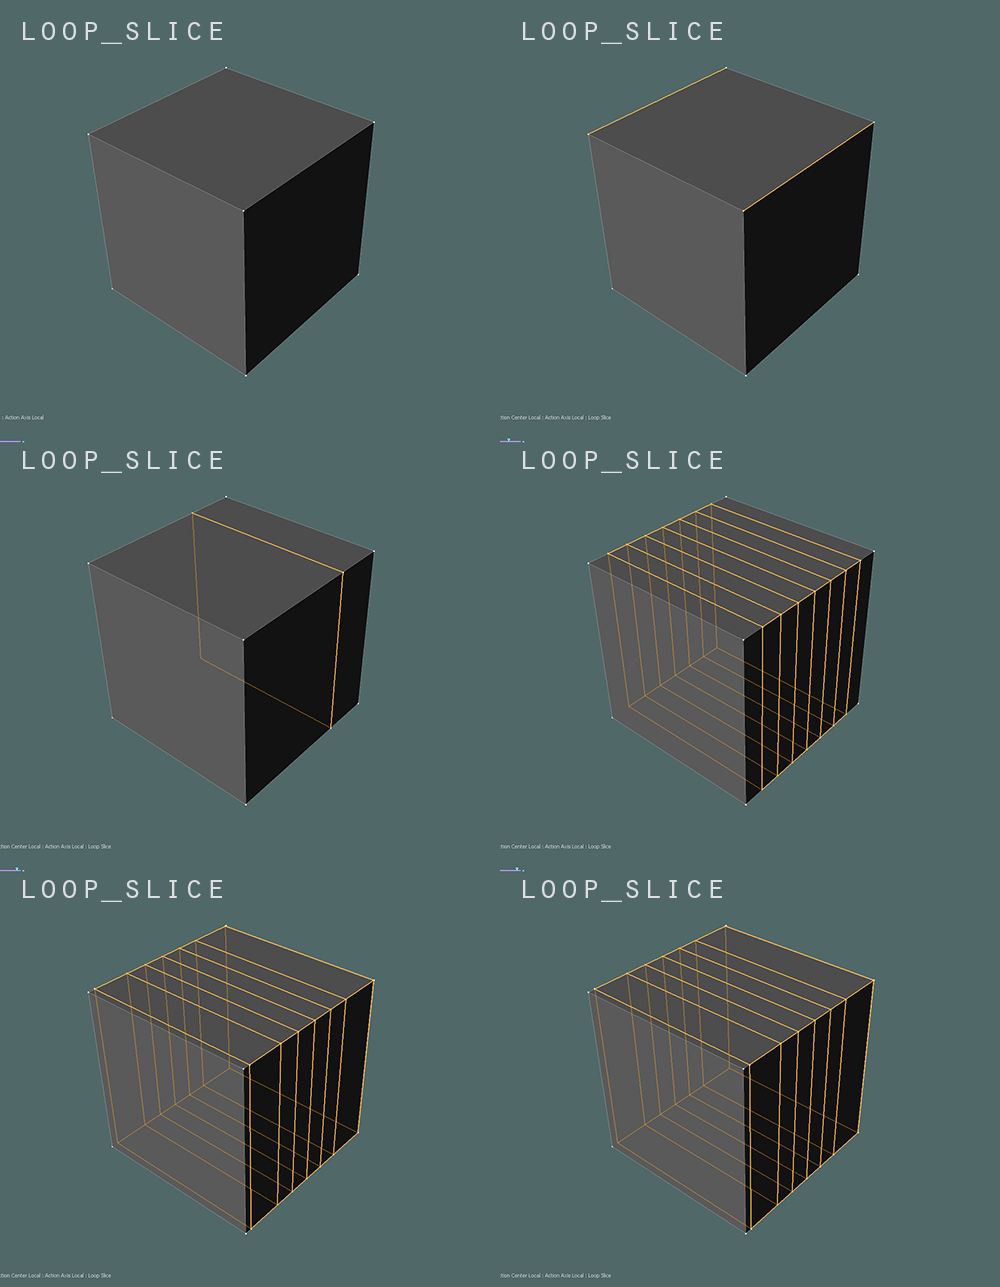
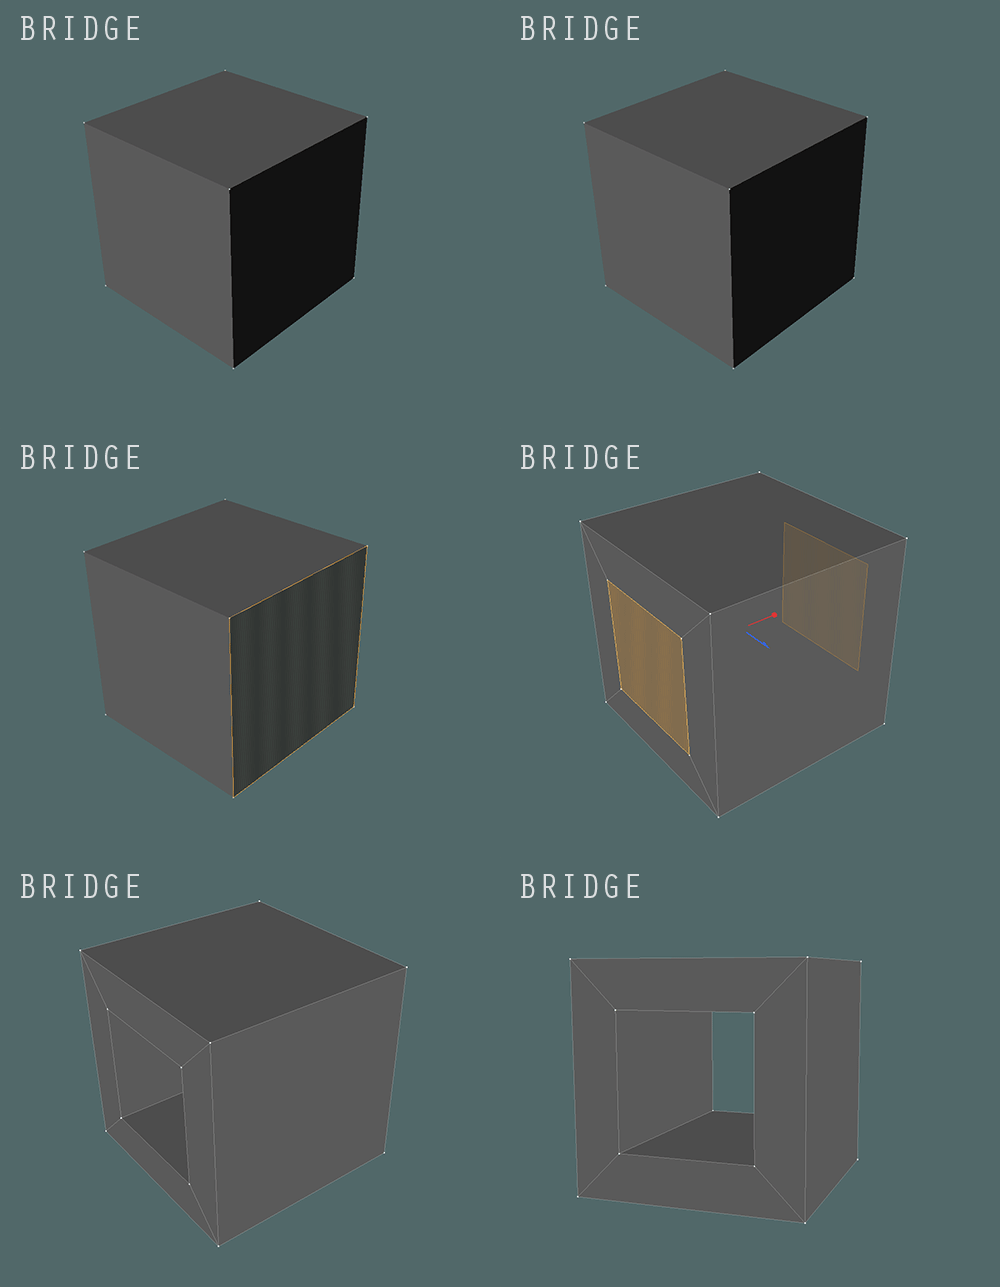
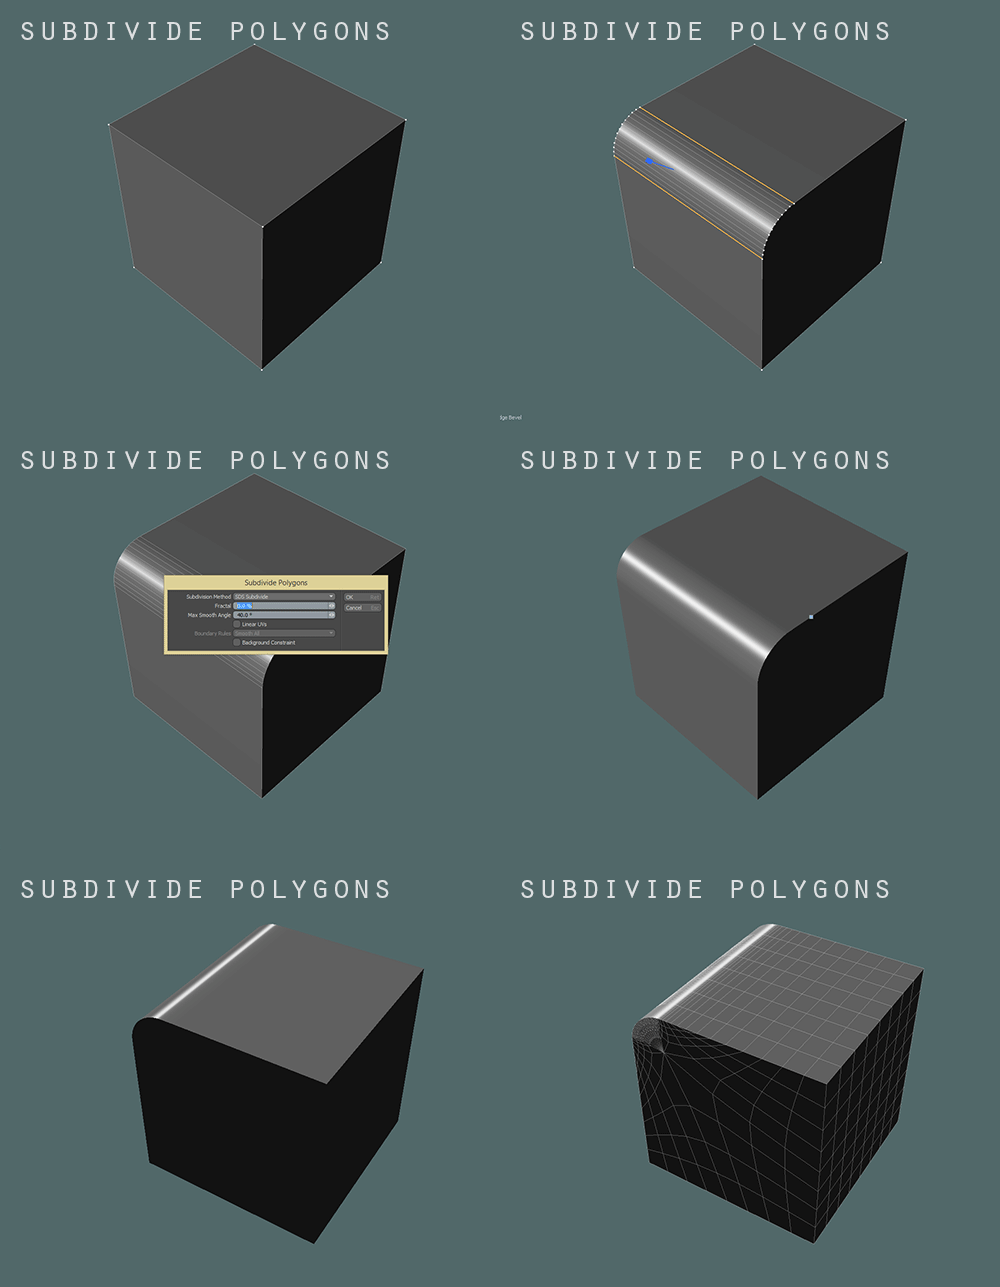
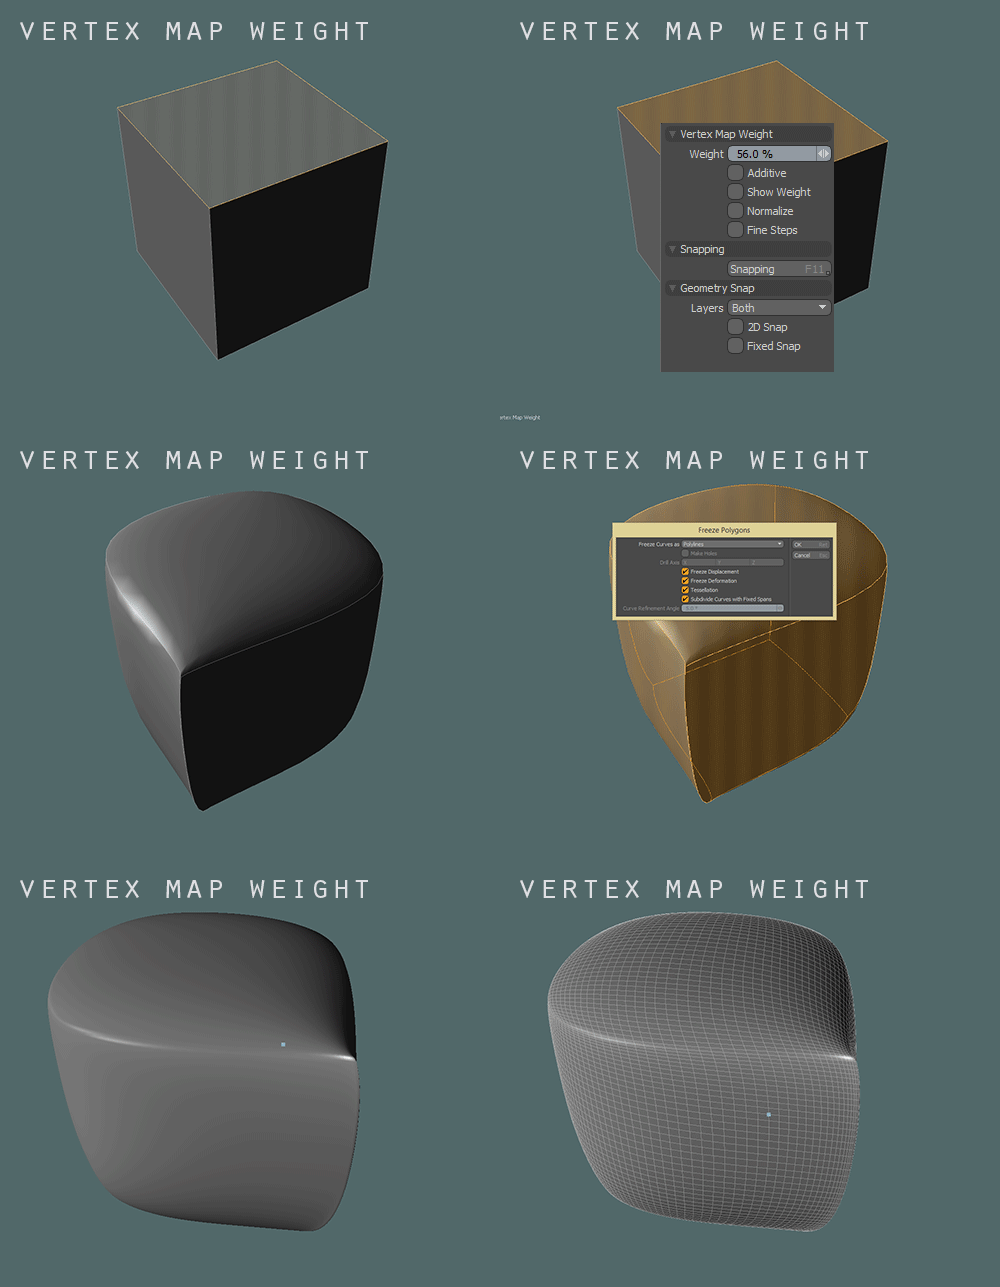
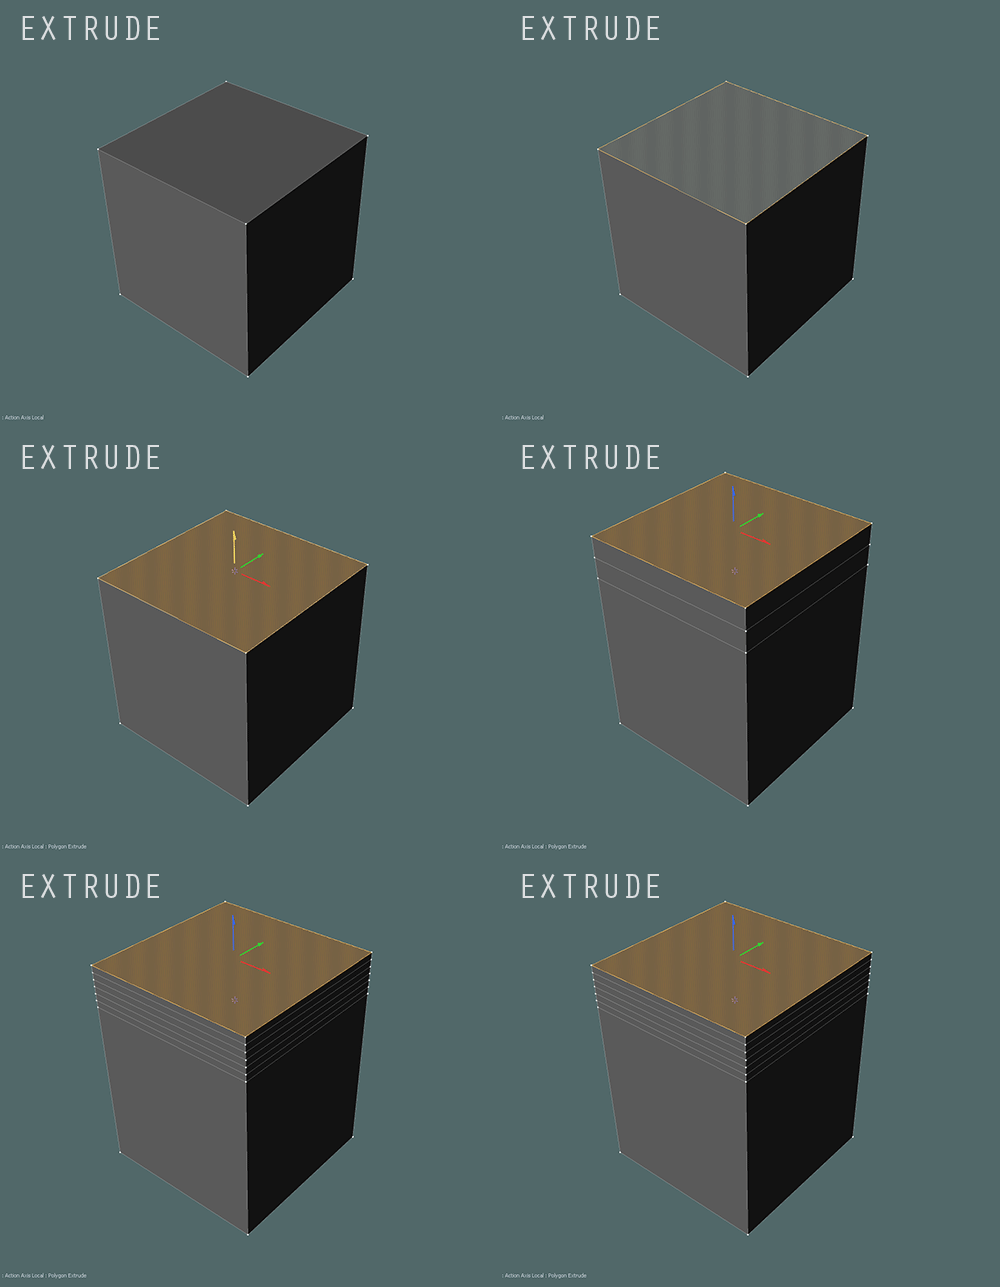
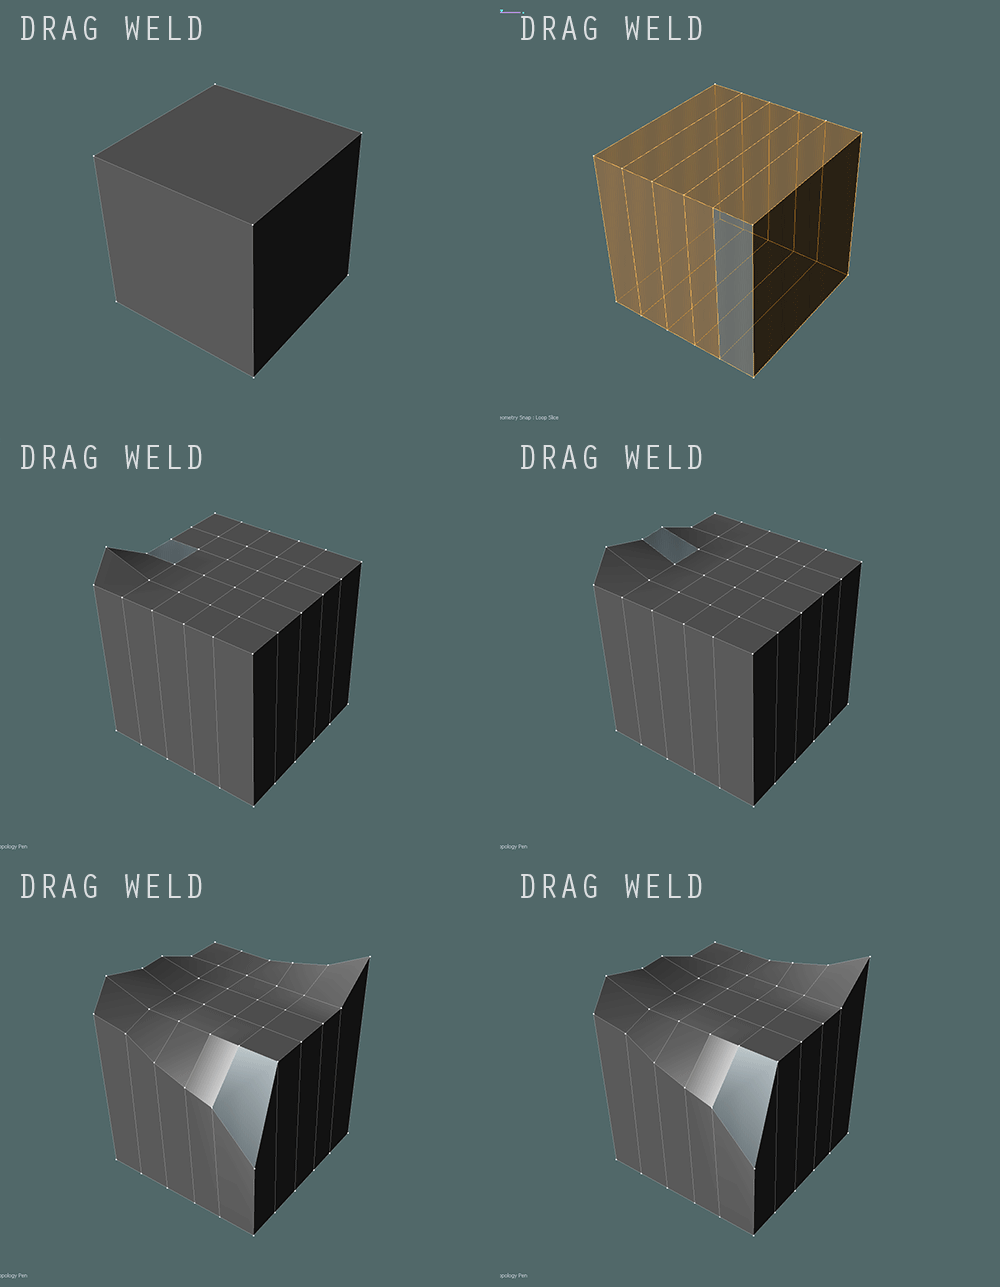
The basic tools for working with the grid in Modo, only nine or ten, but this amount is enough to make almost any object.
Low-poly
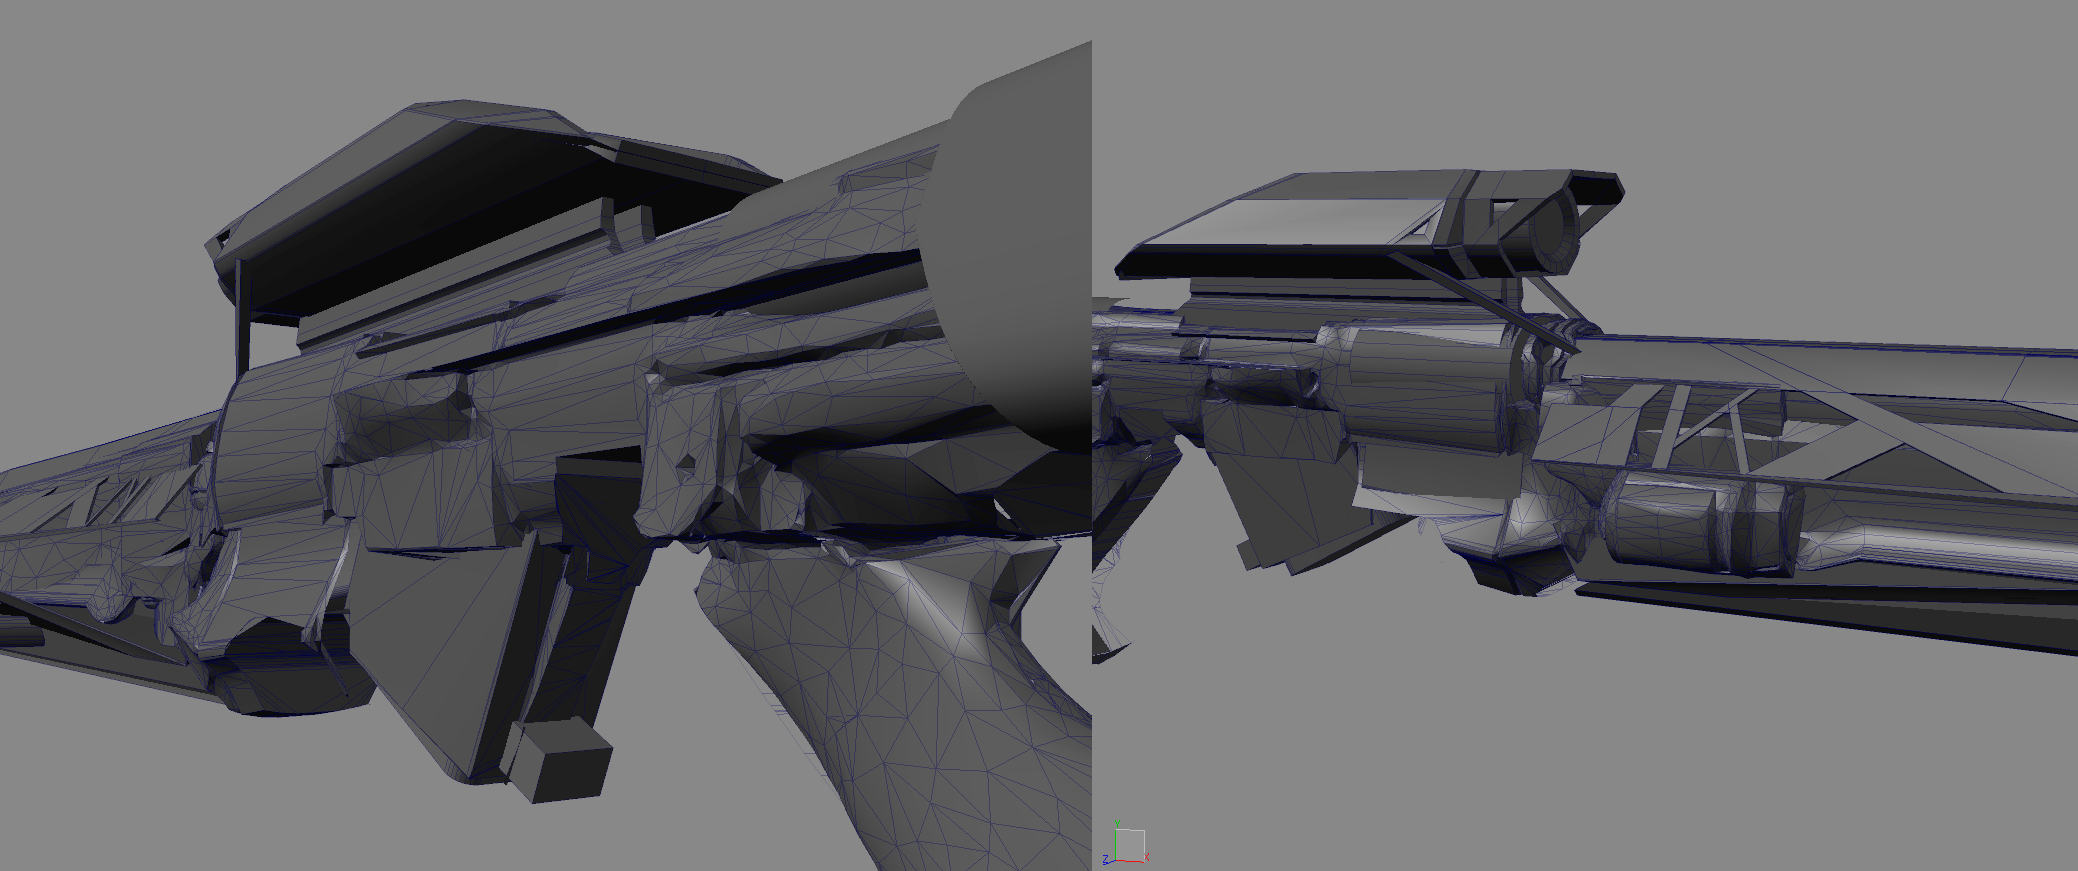
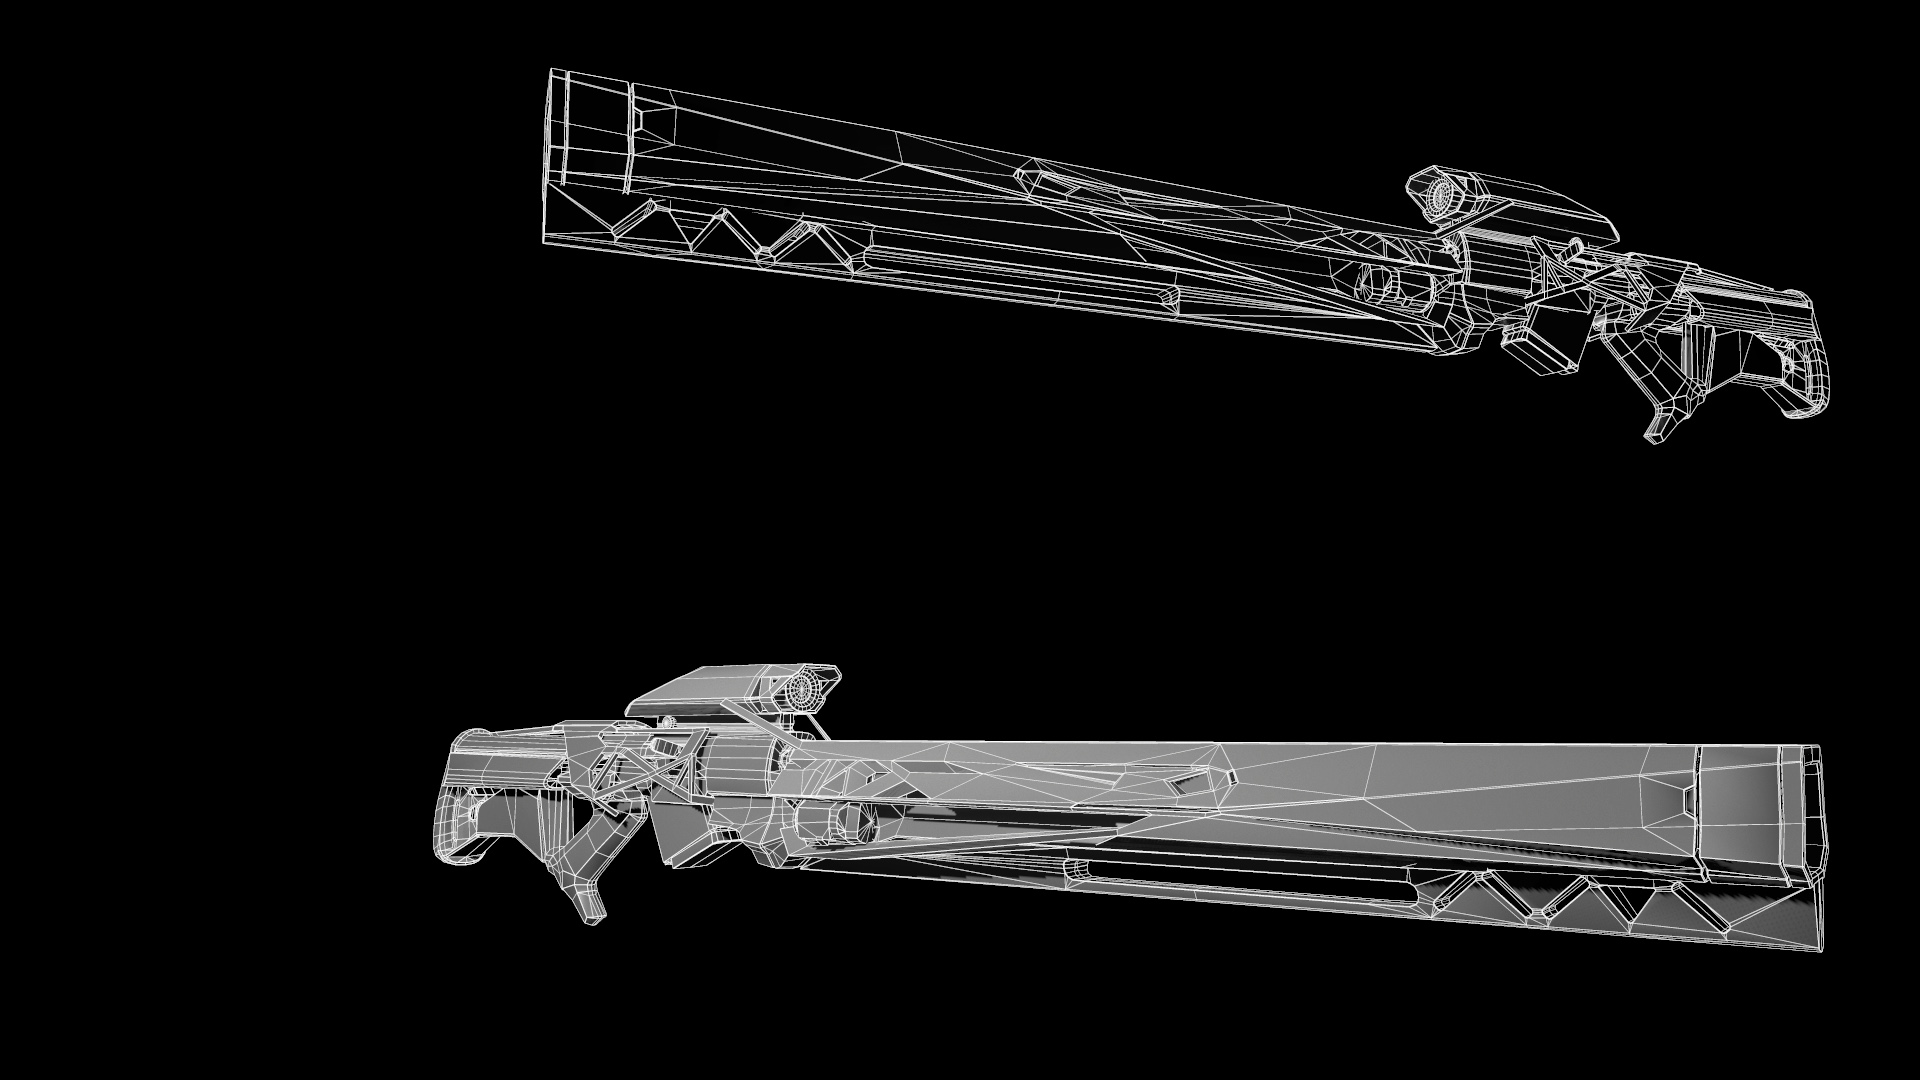
For the re-topology model, the grids were rebuilt by polygon, by hand. The project had strict requirements for the number of polygons, the number of triangles ... .. Where within the framework of these requirements I could only get when I control the grid
hot key
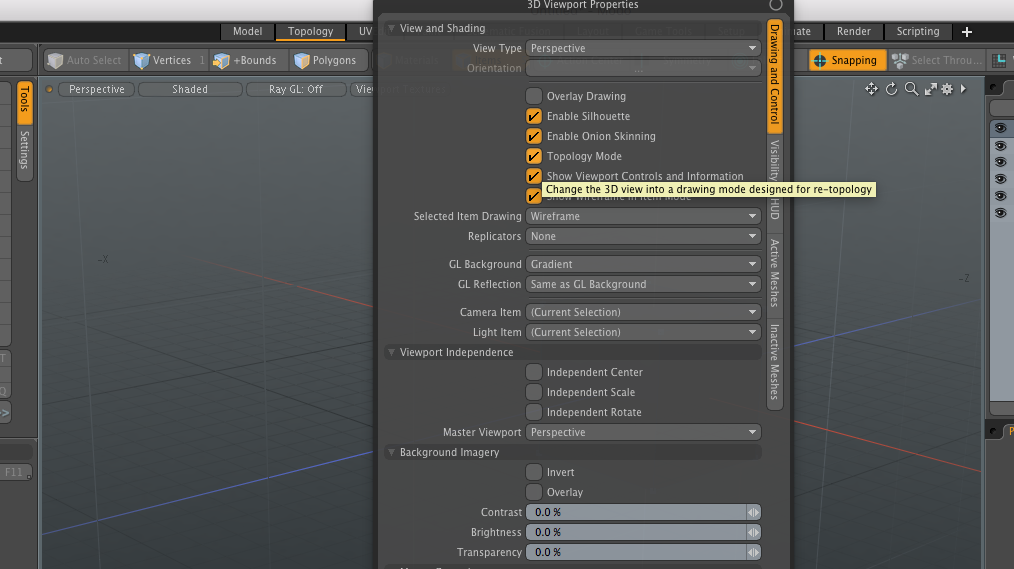
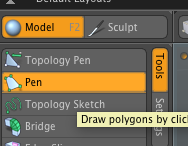
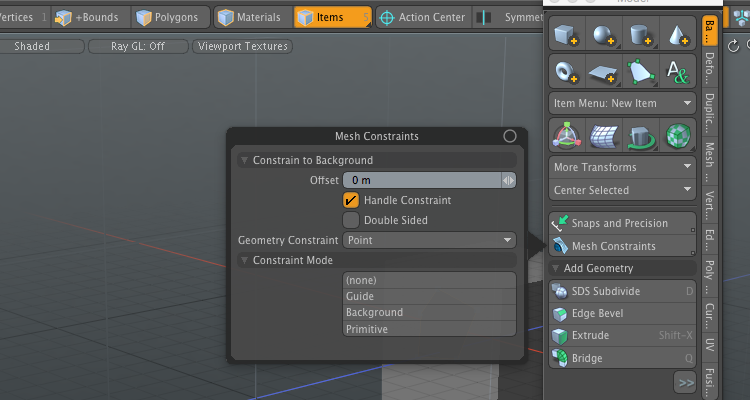
Any last 5-6 years I do Re-topology in modo. For re-topology I use the tools: Topology mode (hot key ‘O’) - this checkbox turns on the transparent grid mode for the top item (layers) in the item window. Pen (hot key) is a quick tool for creating polyg
Normal map
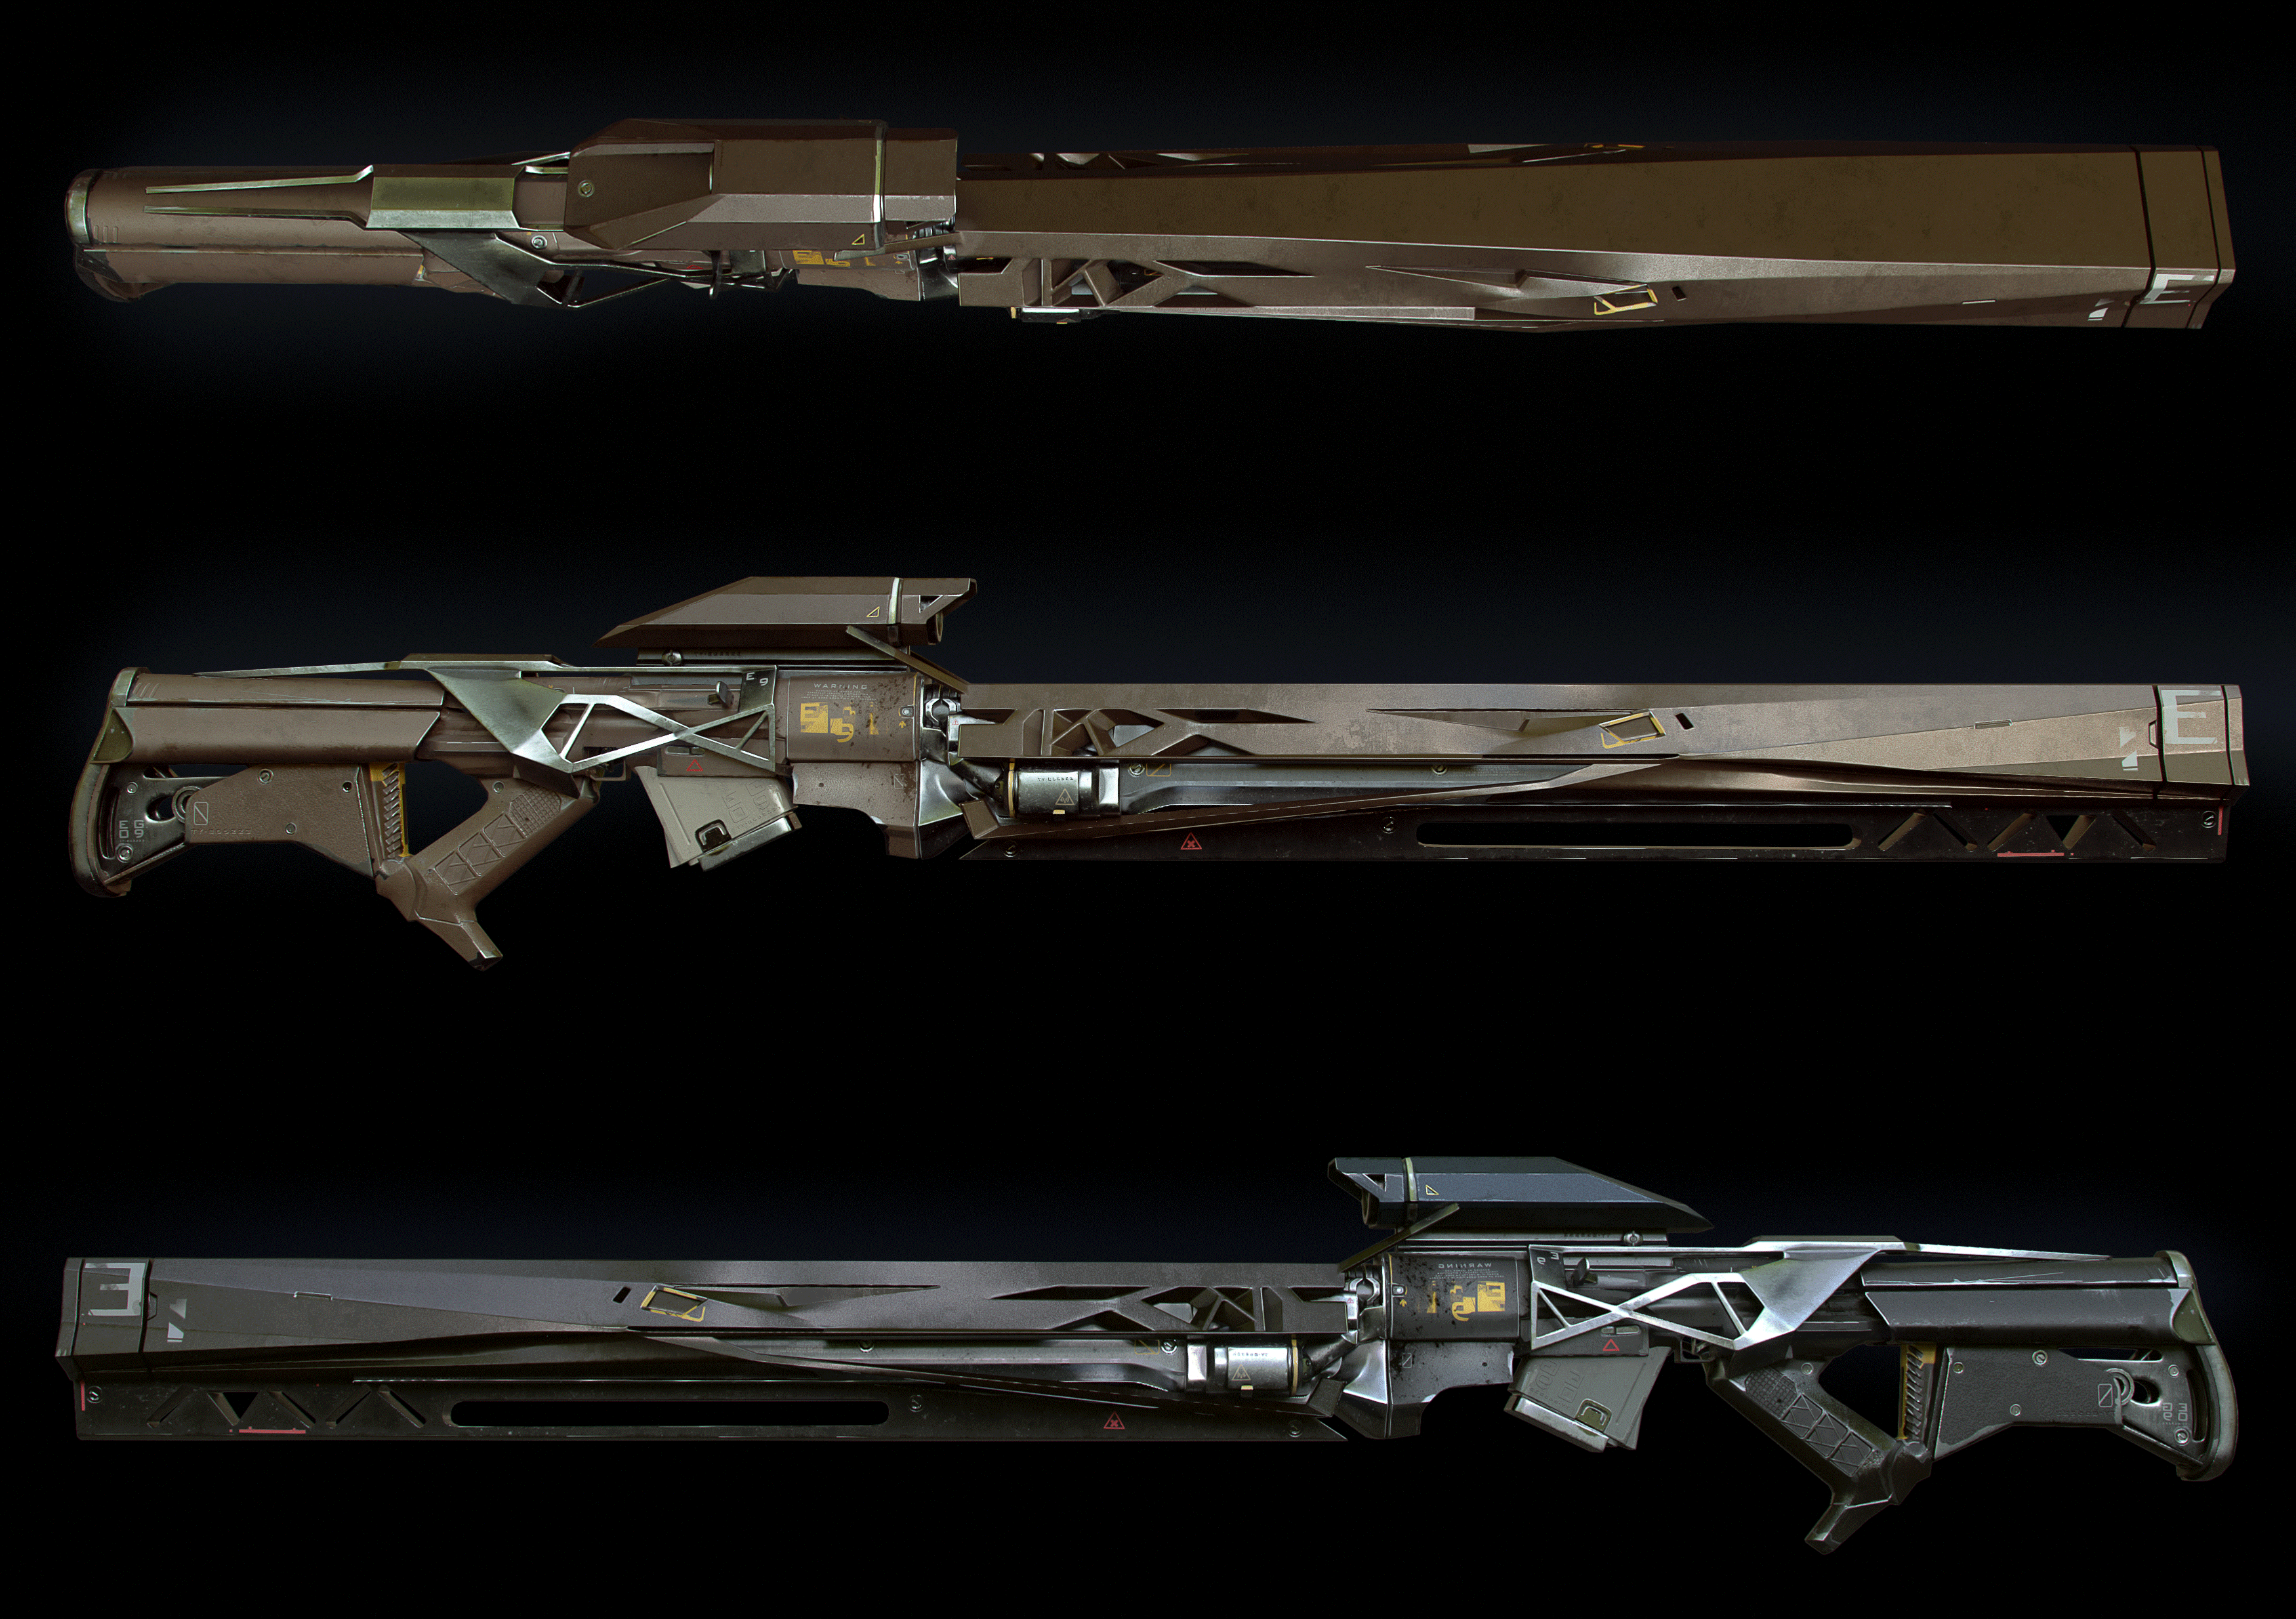
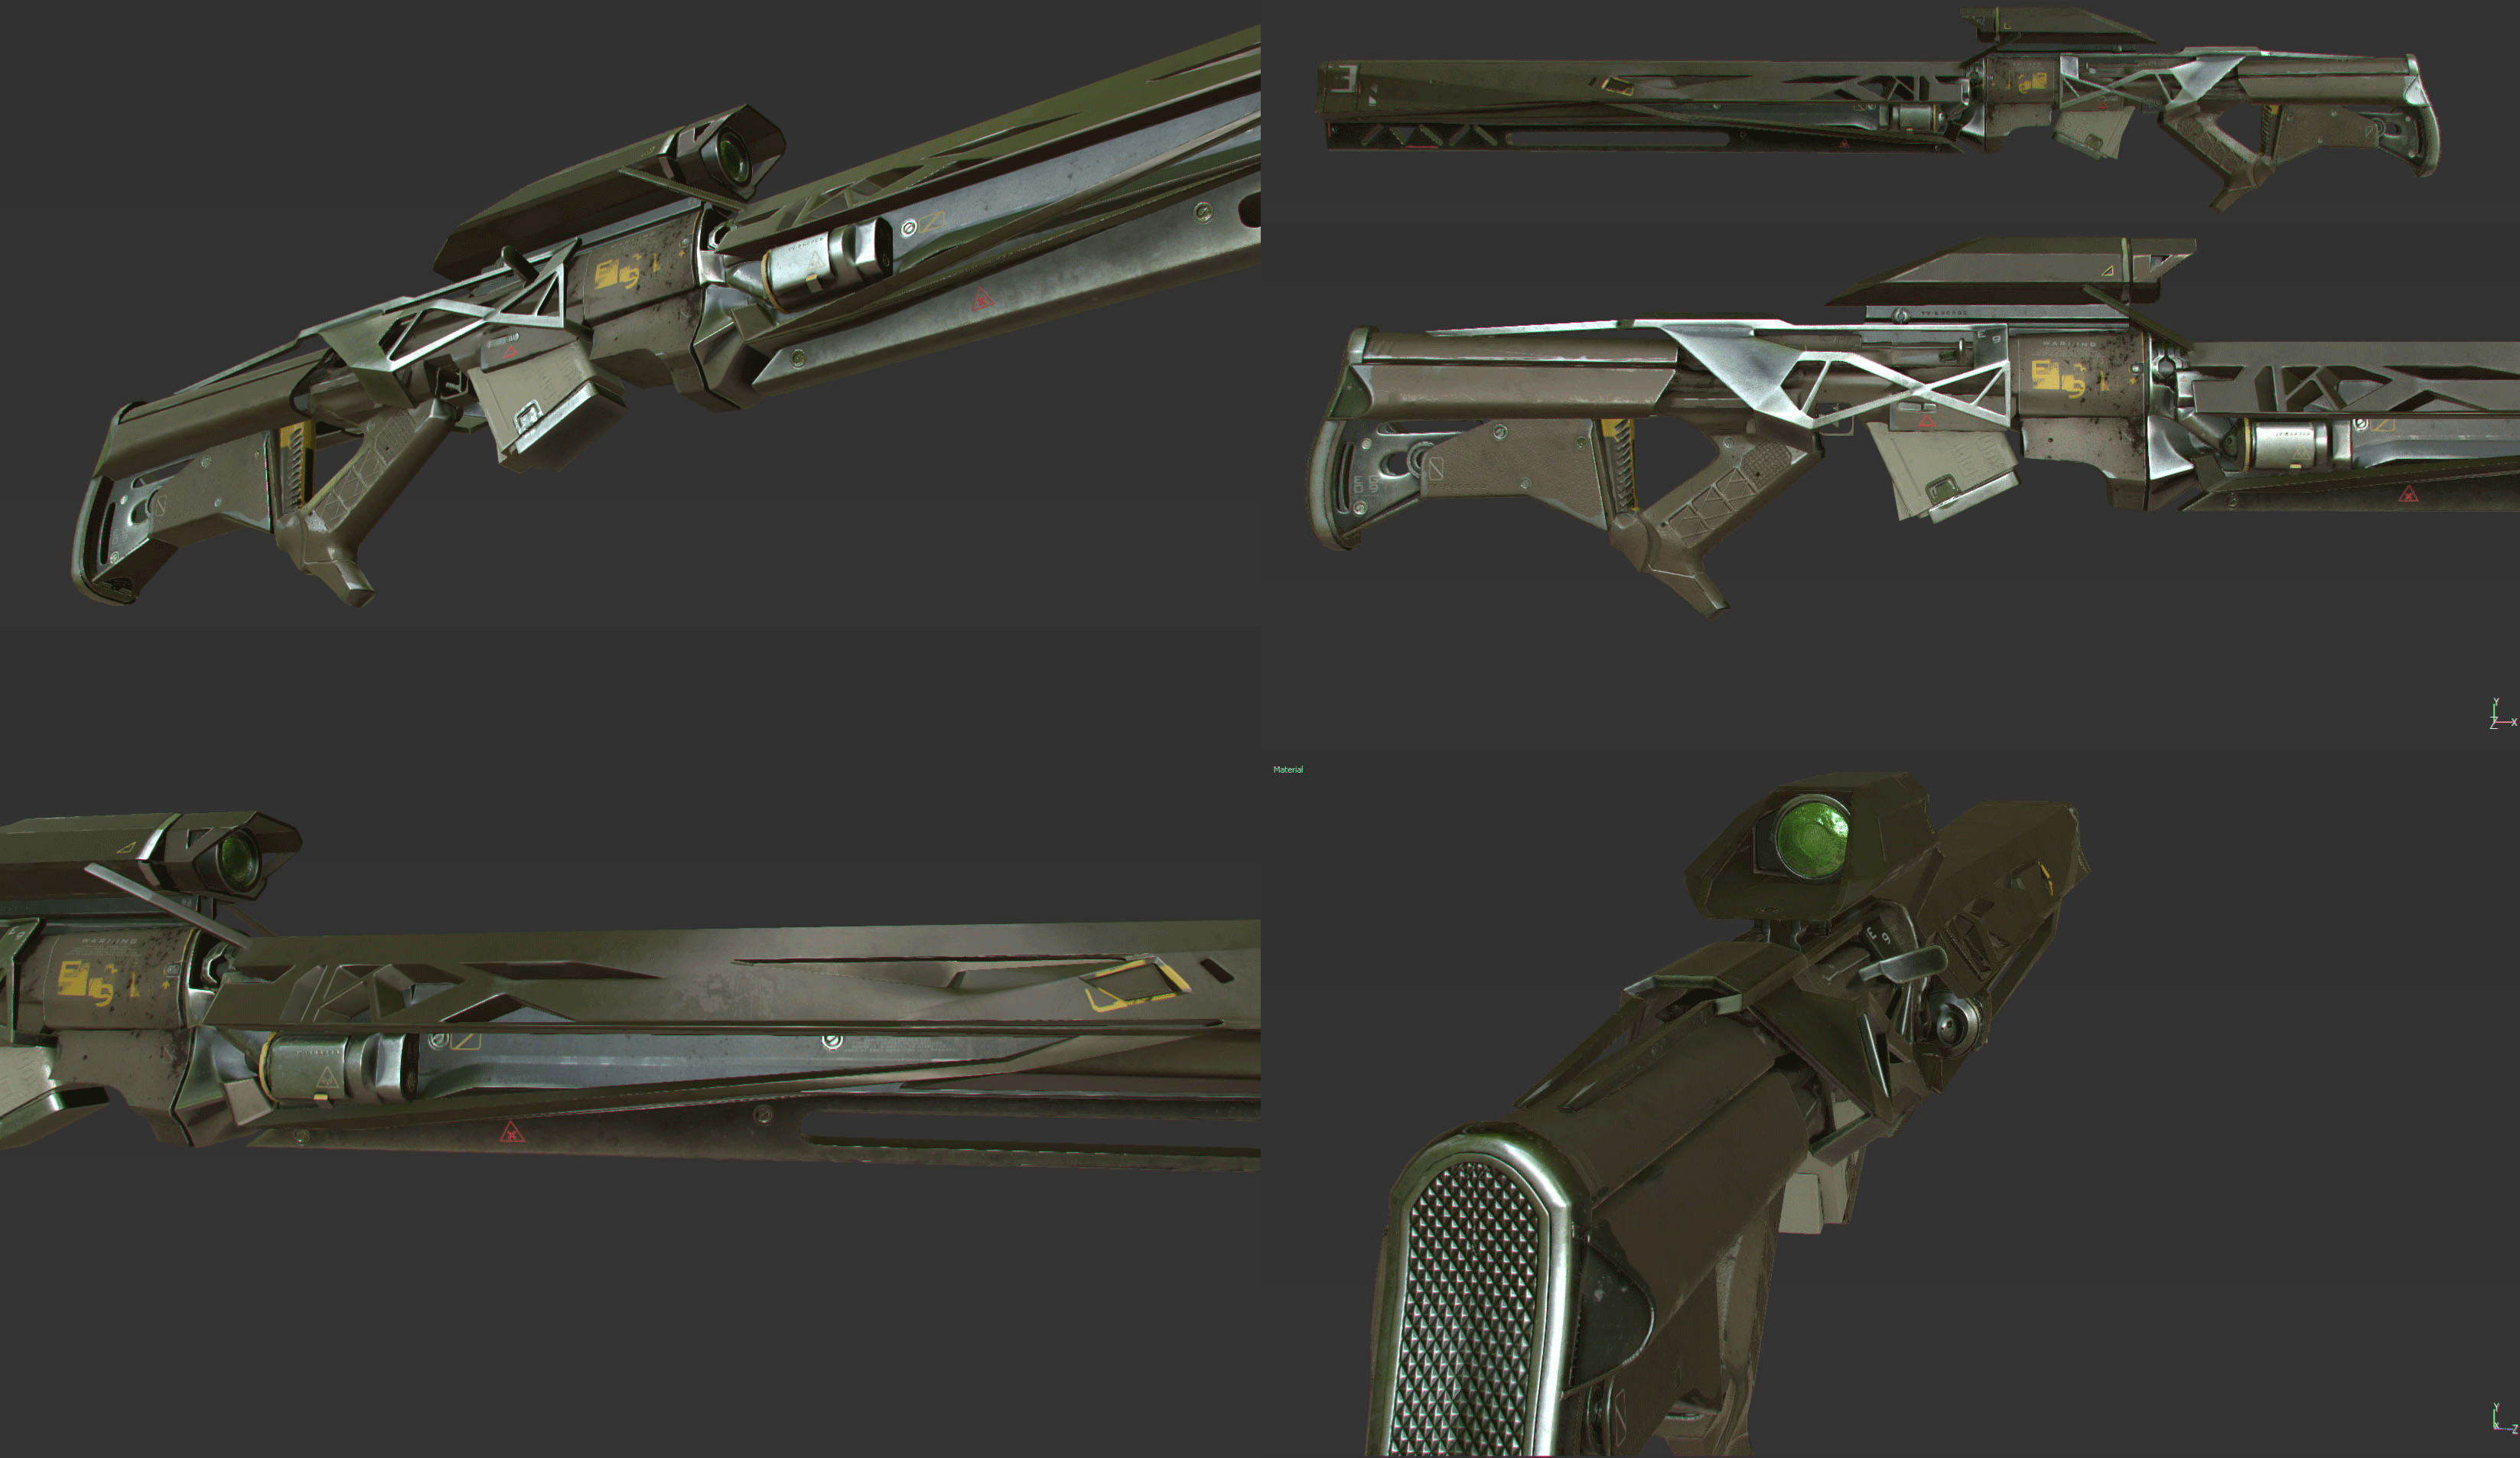
Normal map checked directly in the editor. This is the low_poly model in the UE4 editor. Model has only Normal map and AO map.
UV mapping
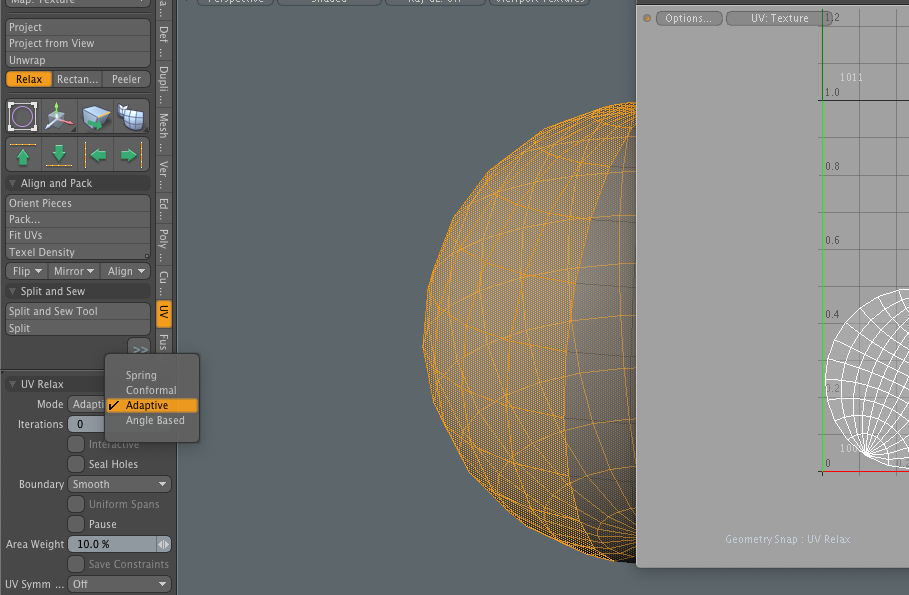
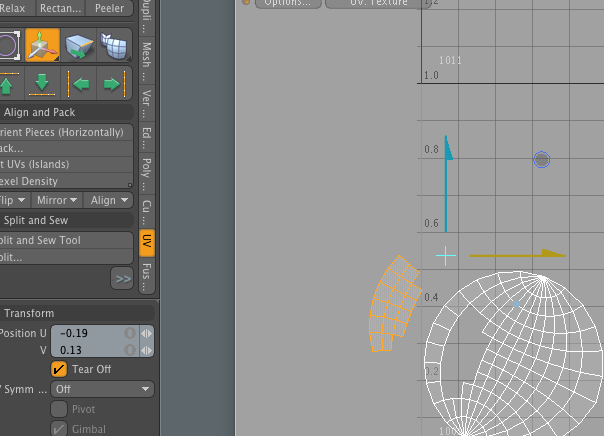
Each element of the scan I try to deploy as square as possible. This is important if you want to occupy the entire area of the texture. Such a method has its own peculiarity, where the repeating texture will be distorted at the edges of the square a
texturing
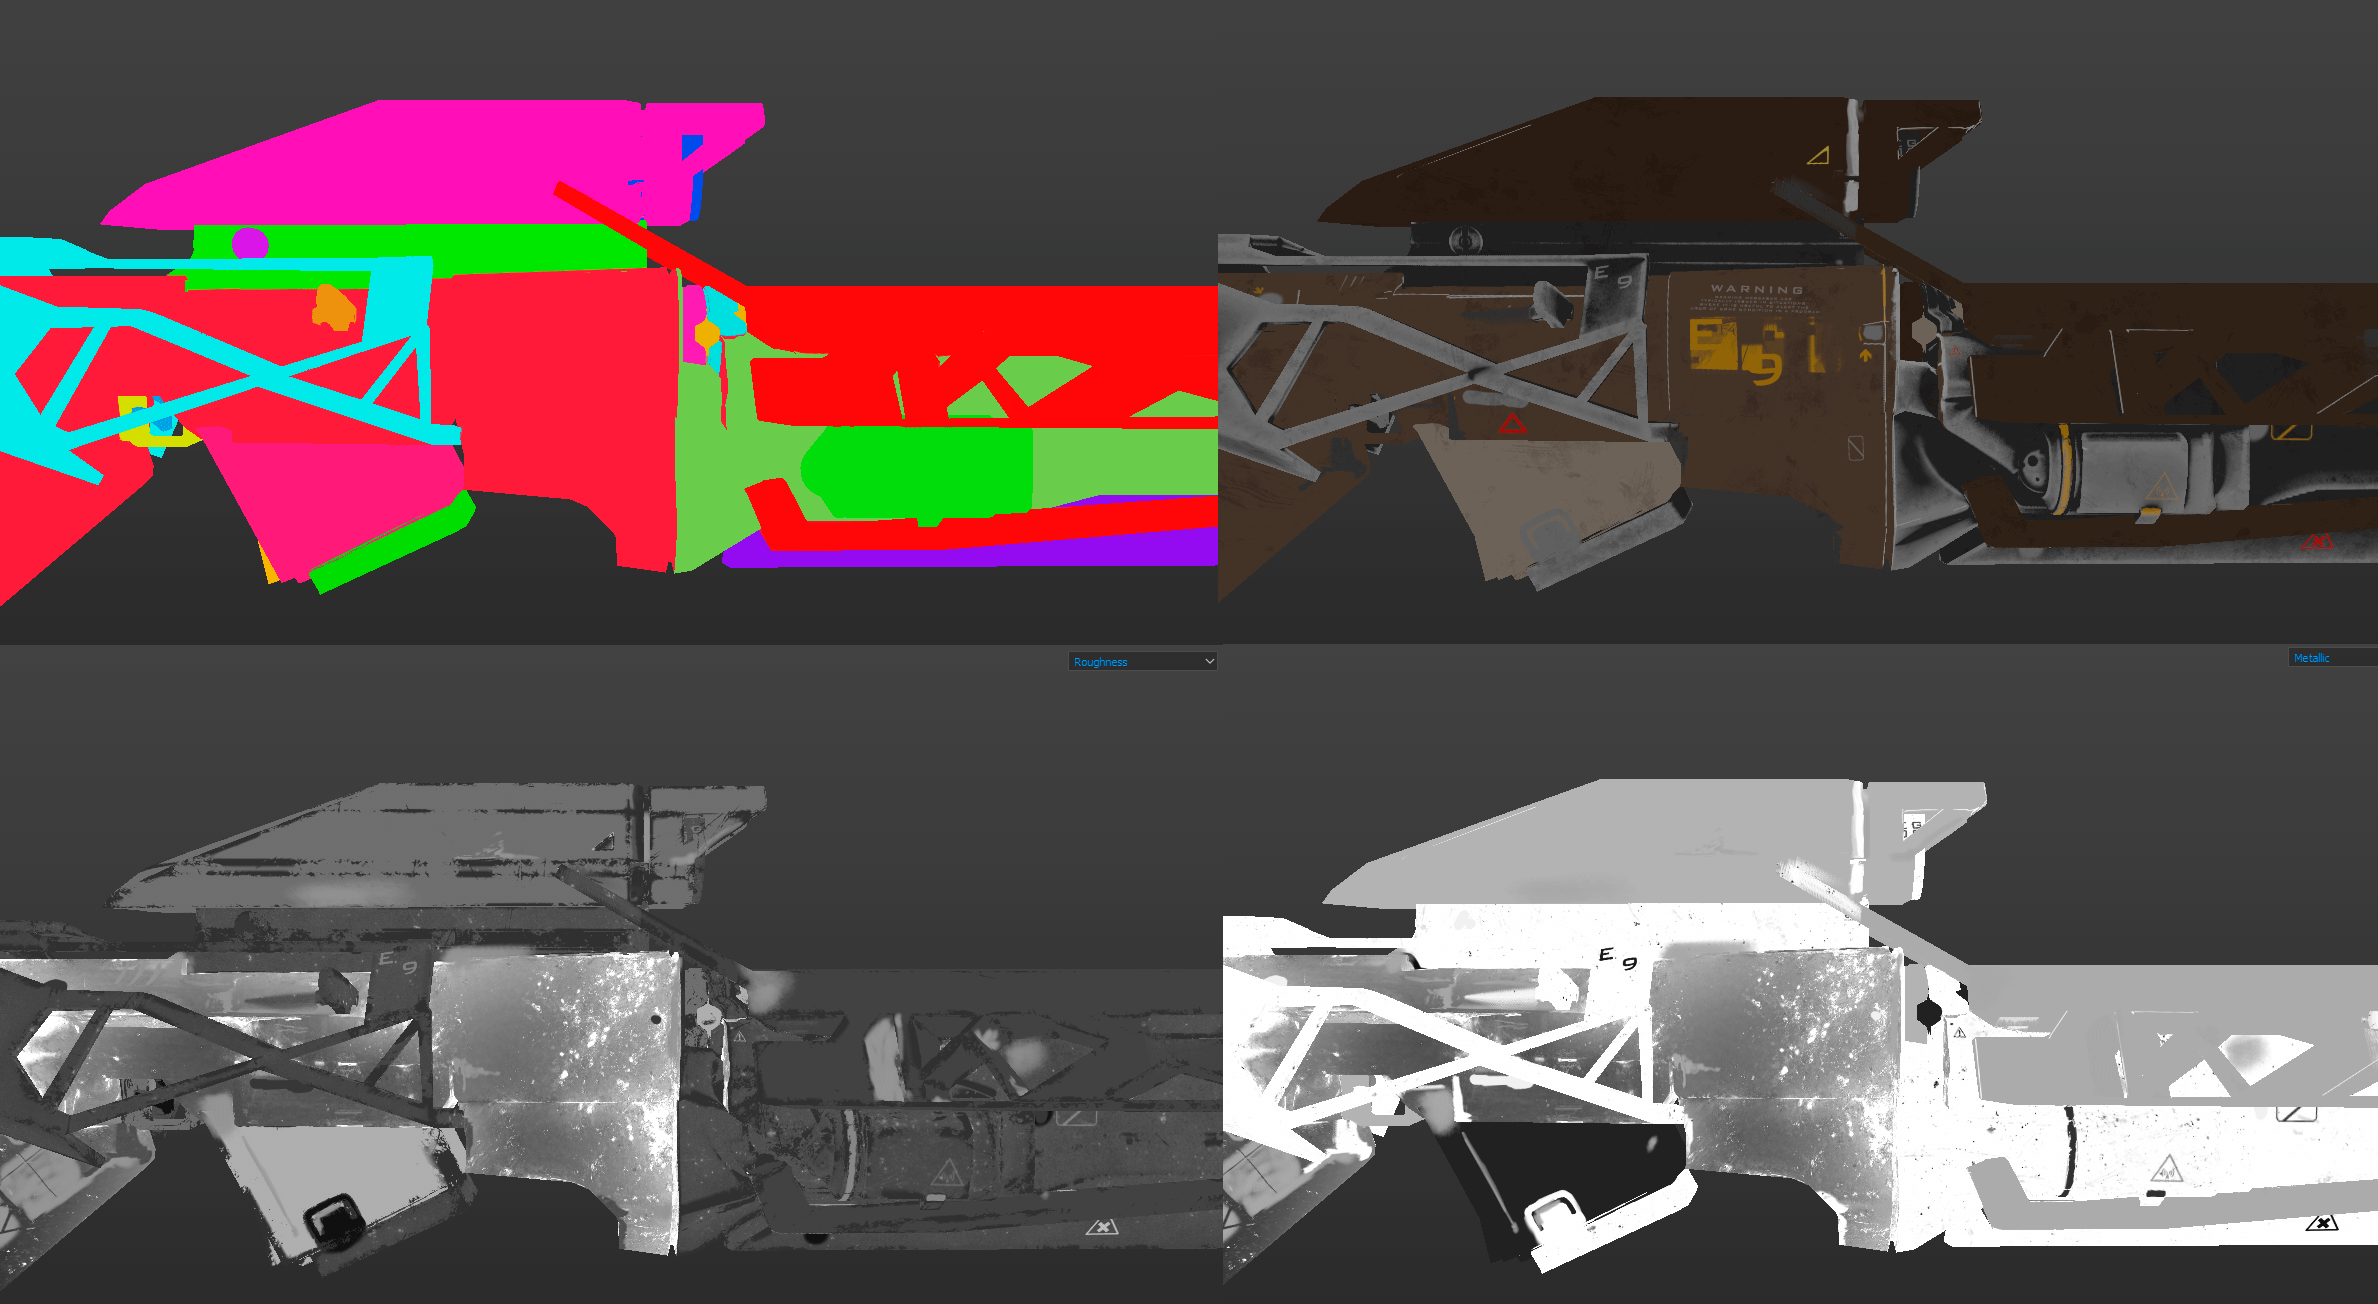
If I use the scratch generator, I will surely wipe the result with my hands. I do not like the full generation. If I do not modify the texture with my hands, then the texture does not look interesting and looks like hundreds of other similarly generated t
Smooth groups
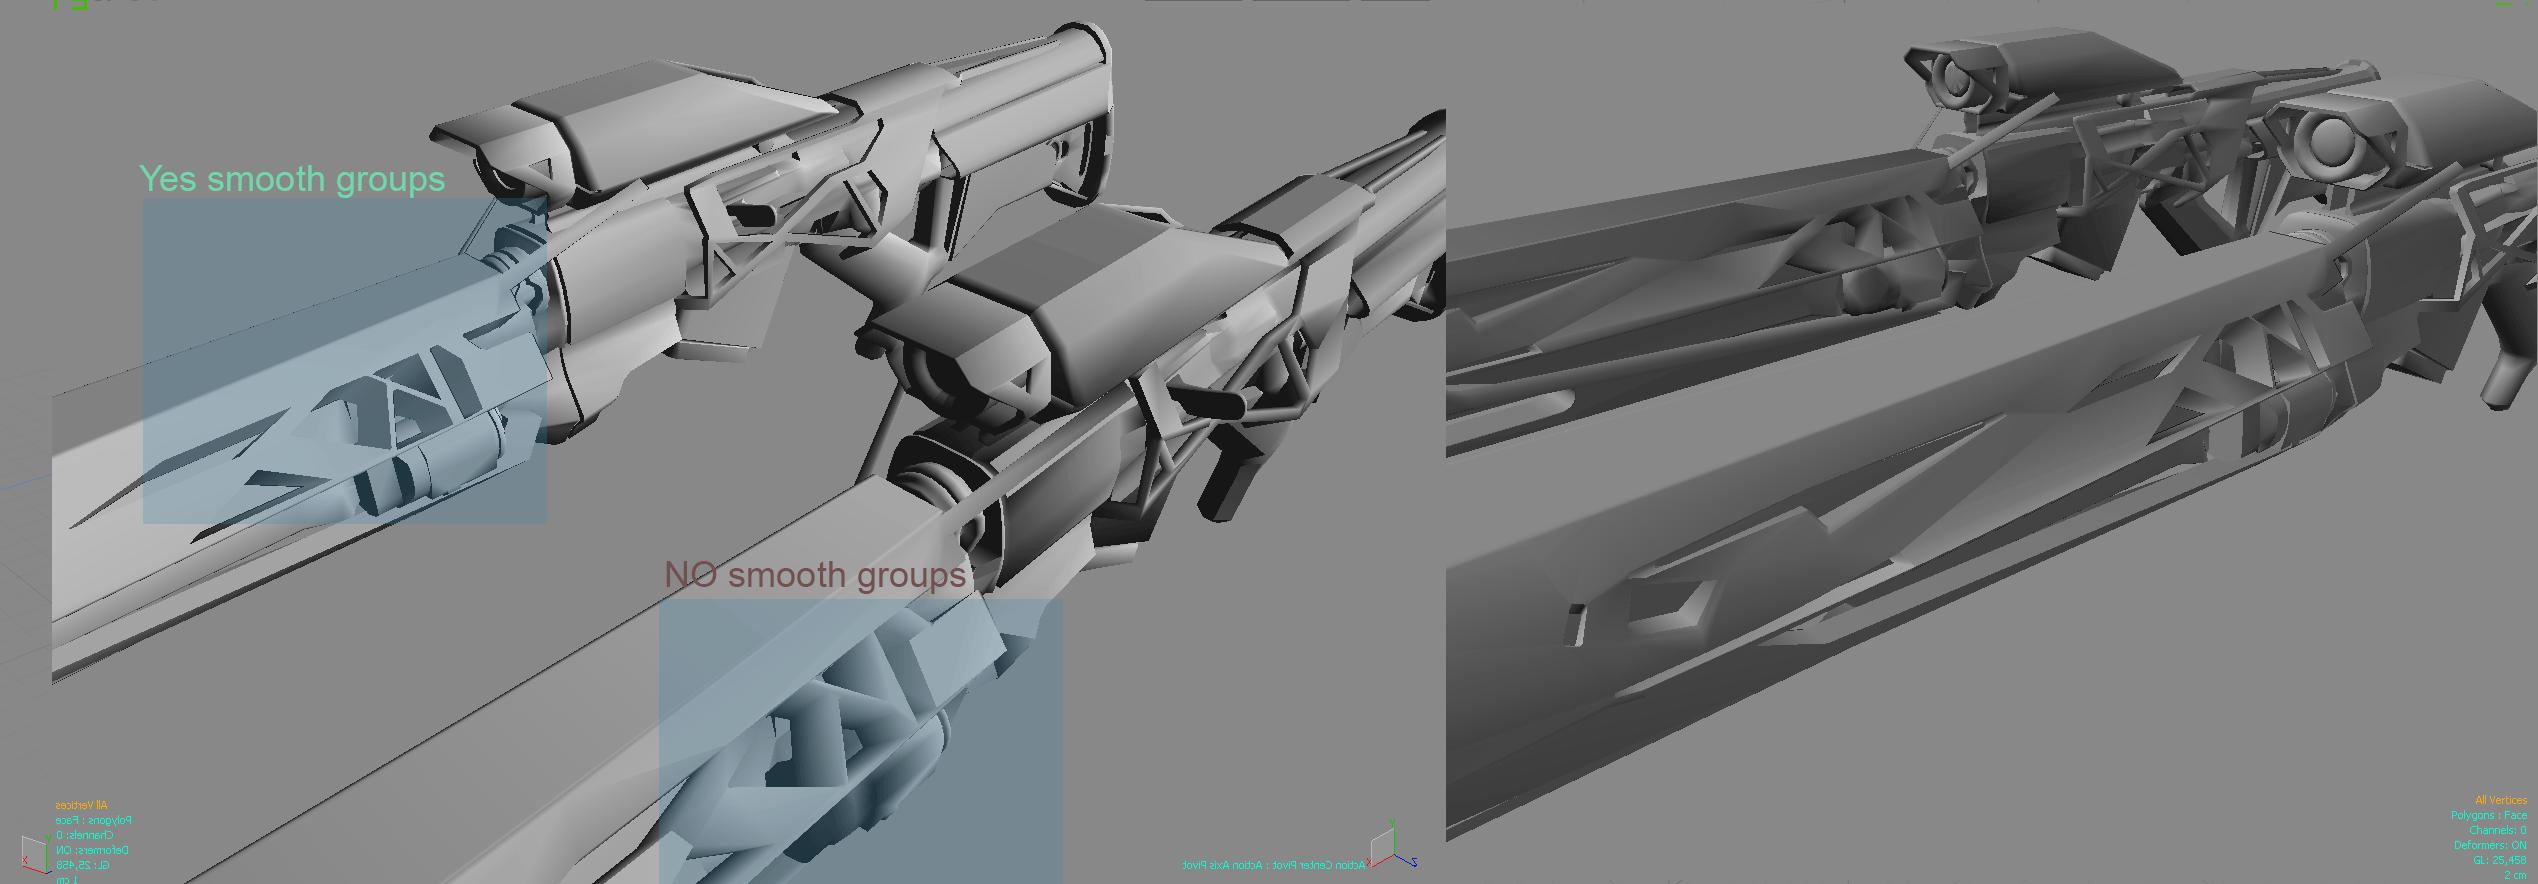
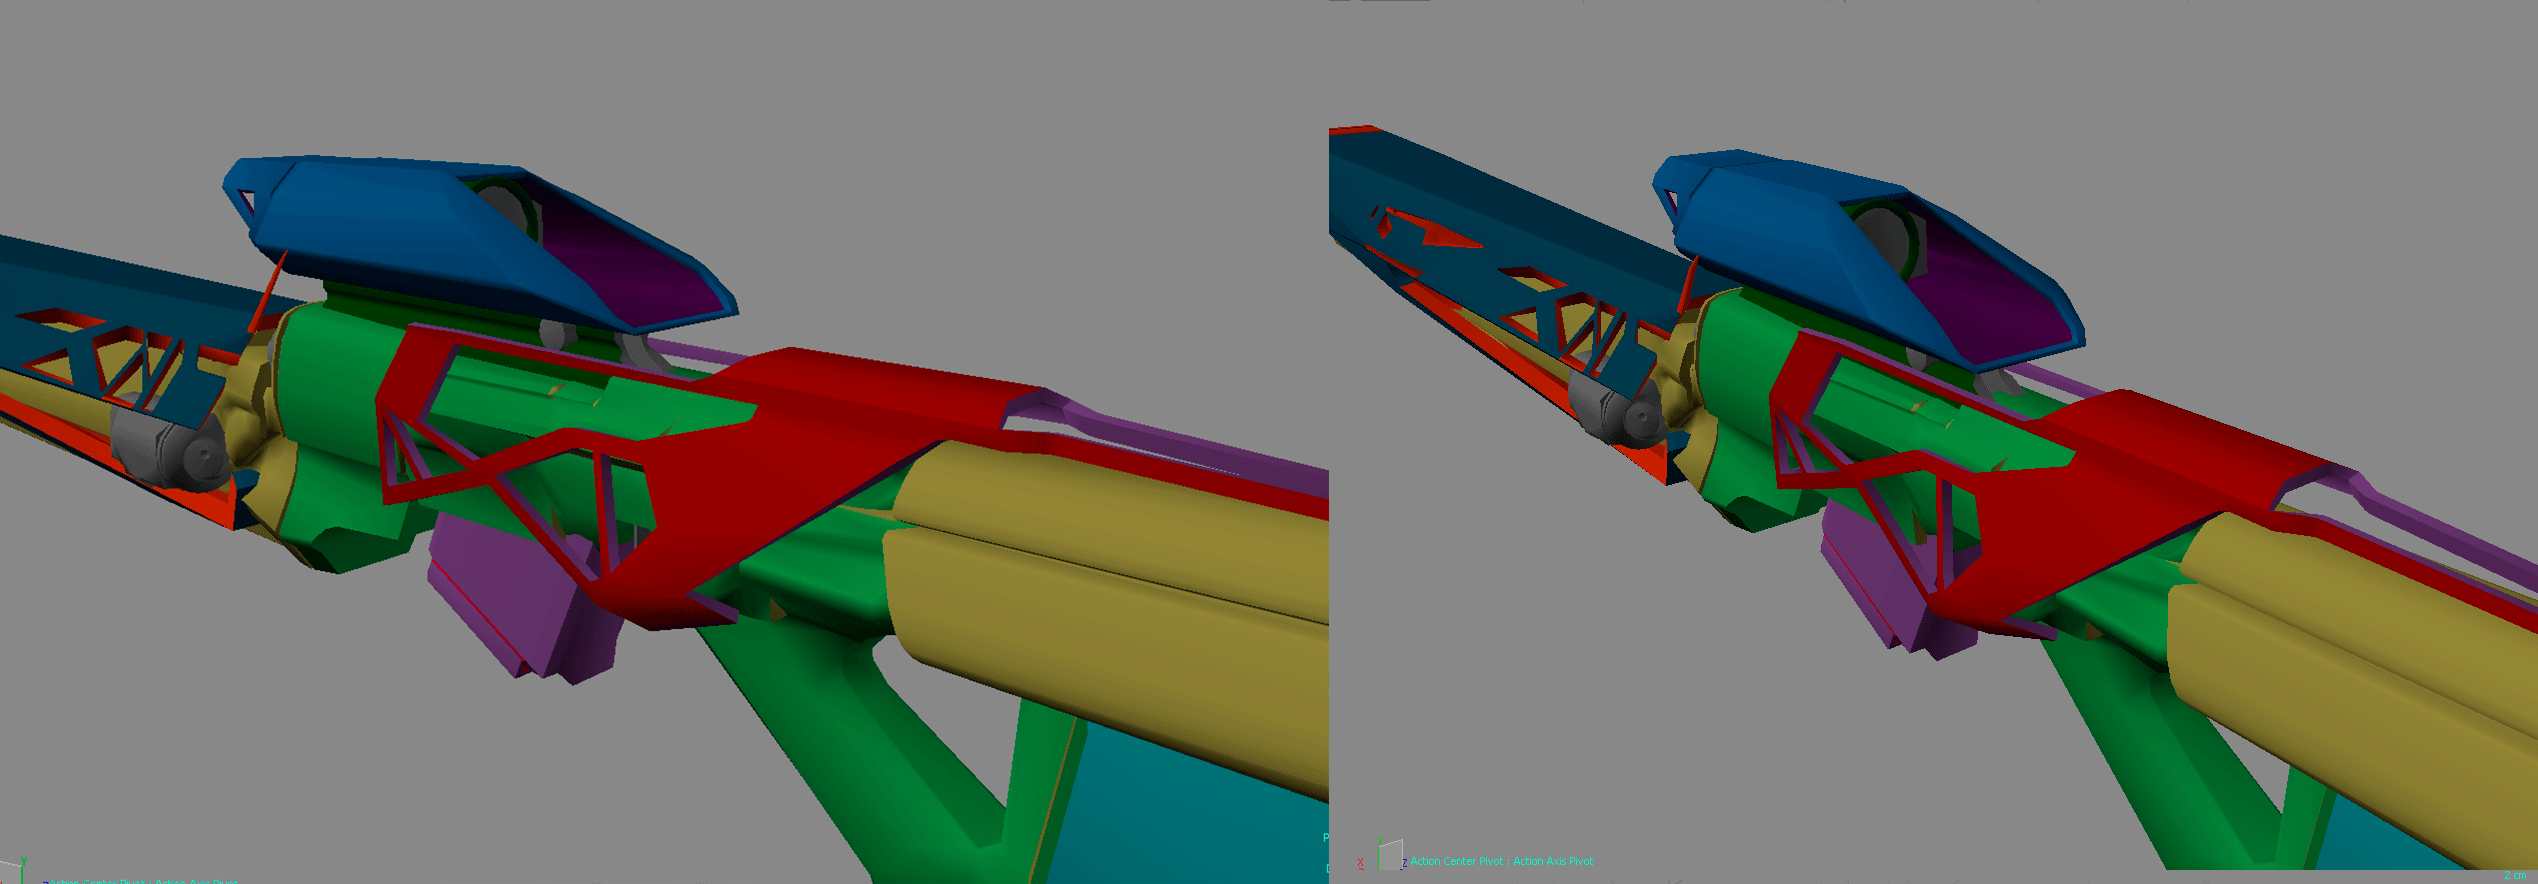
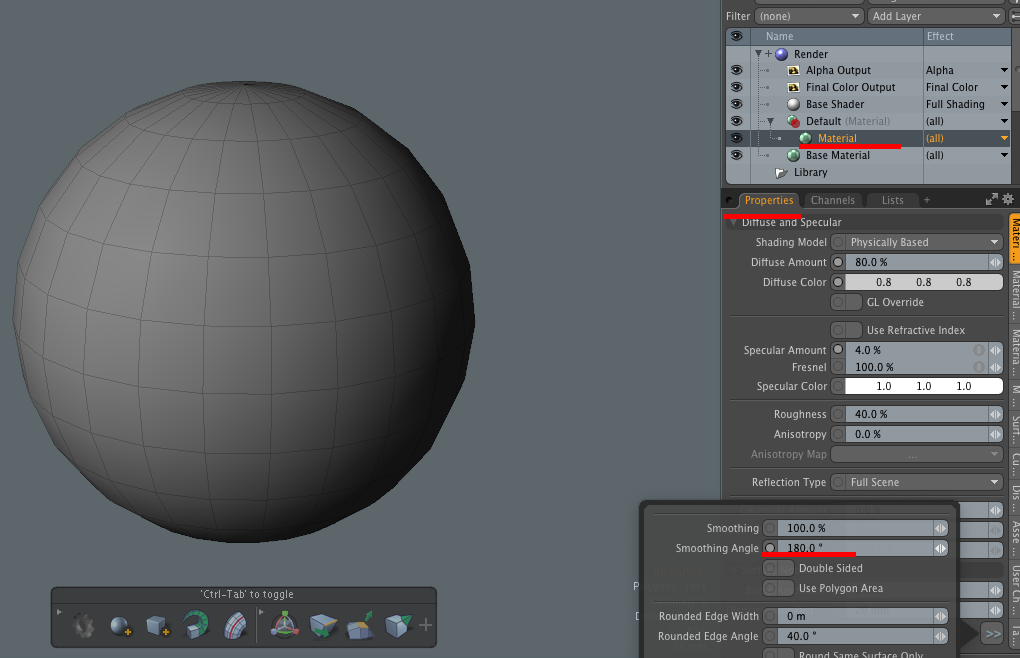
Low poly model is divided into smoothing groups only after uv map. Further, this does not allow confusion and it becomes easier for me to separate the UV part for hard edges. Then it is more difficult to collect not logical small pieces in a heap. Work wi
Smoothing Group tool
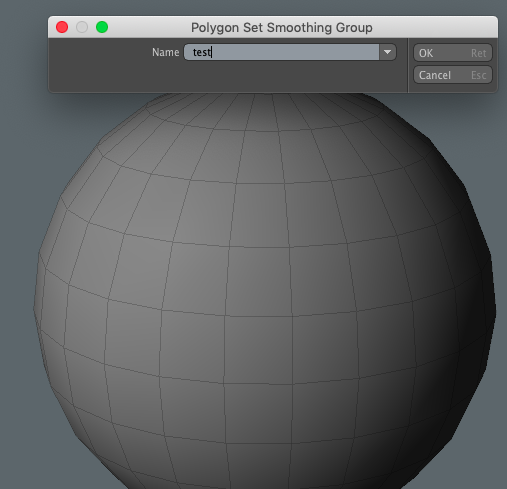
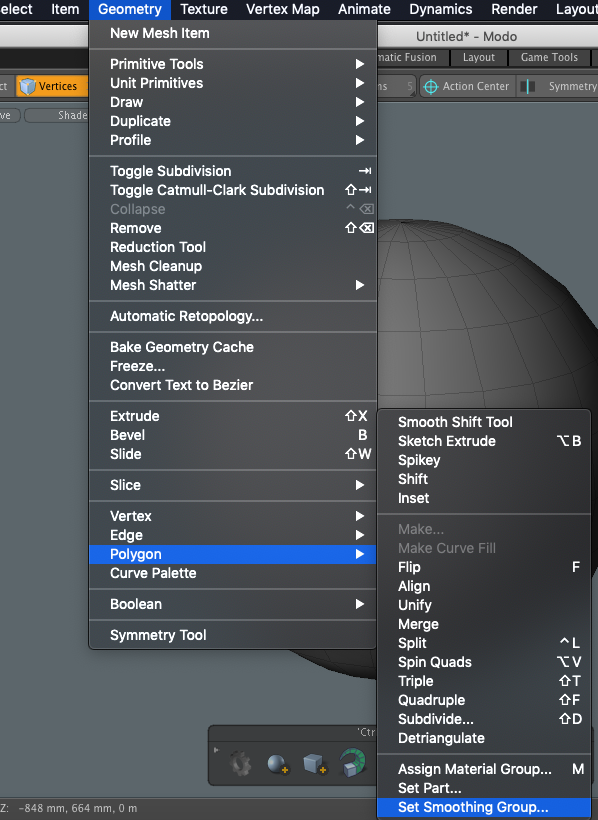
After that, I can select polygons or pieces of the UV map and assign the opposite smooth group. To do this, go to Geometry -> Polygon -> Set Smoothing Group. In the window you want to name the new Smoothing Group. ! Sure to! I assign a hot key to this too
Texturing and Baking Substance paint.
The baking procedure begins with checking the model for its position in the coordinate system. All models must have the same position "0". The best solution is when I exhibit a model at the concept stage and from that moment I haven’t changed it at all.
types
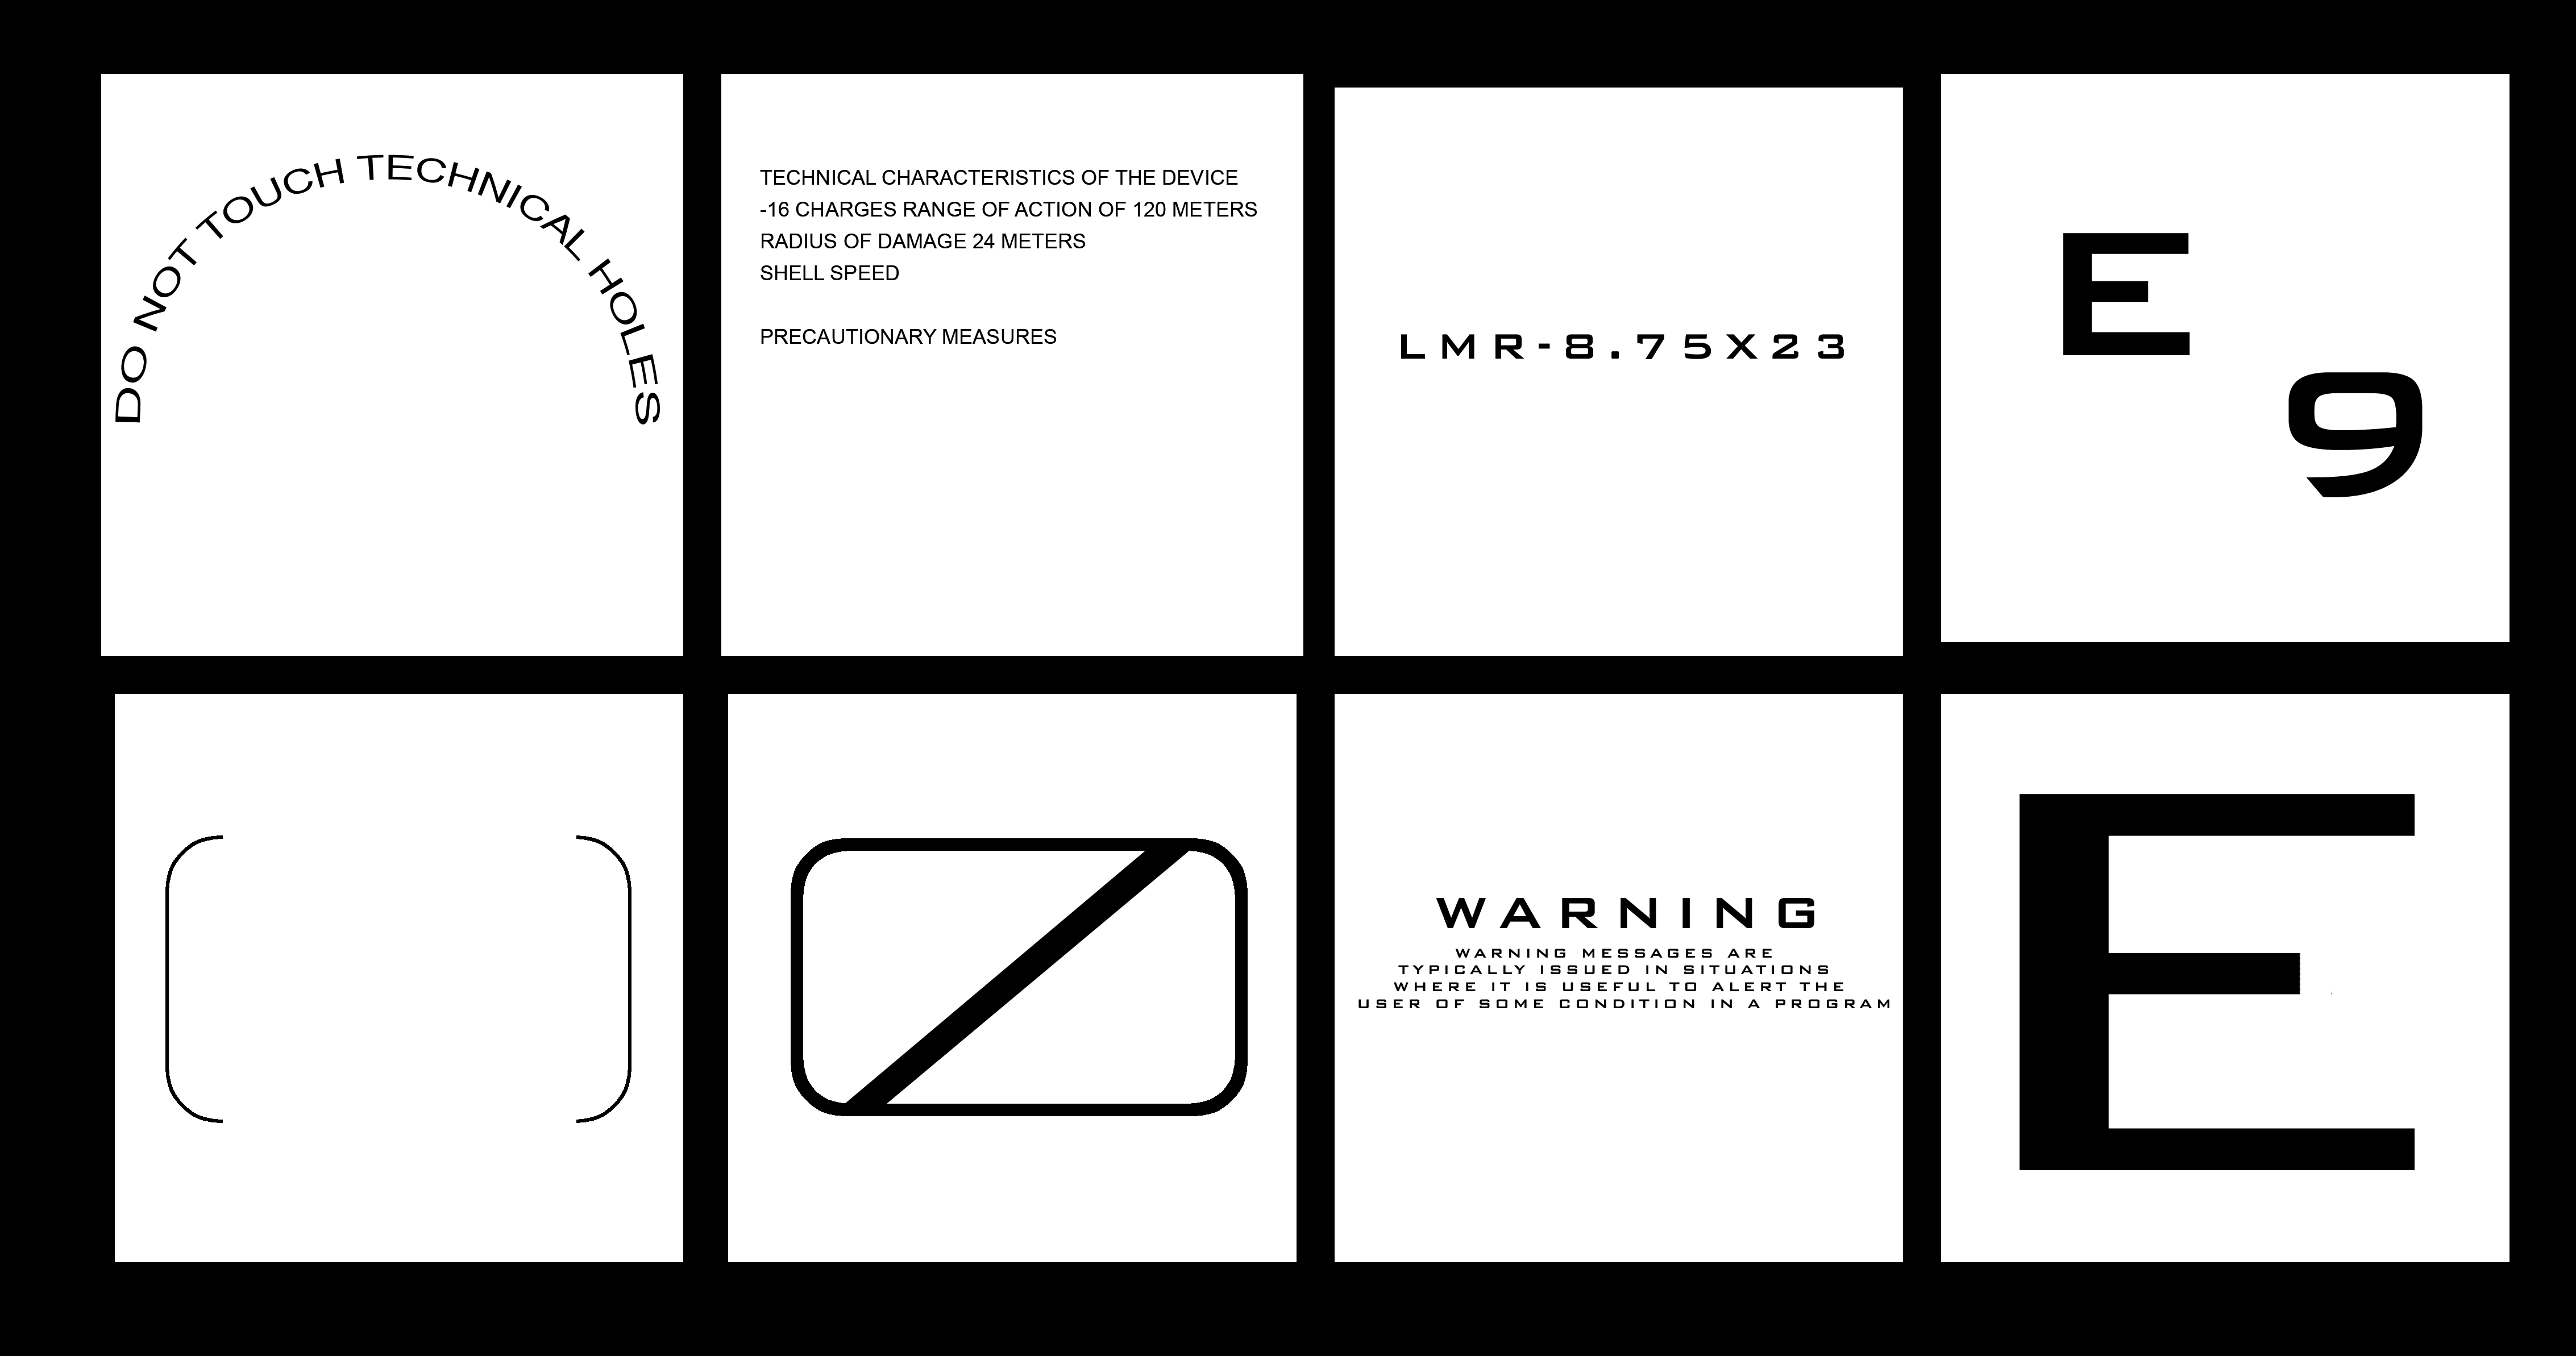
After working with color and materials. Sheet with various infographics Preparing for all types of weapons. This is mainly technical information, conditional markings, warning labels and symbols. The set is quite typical for any technique. ! Each project
Scope
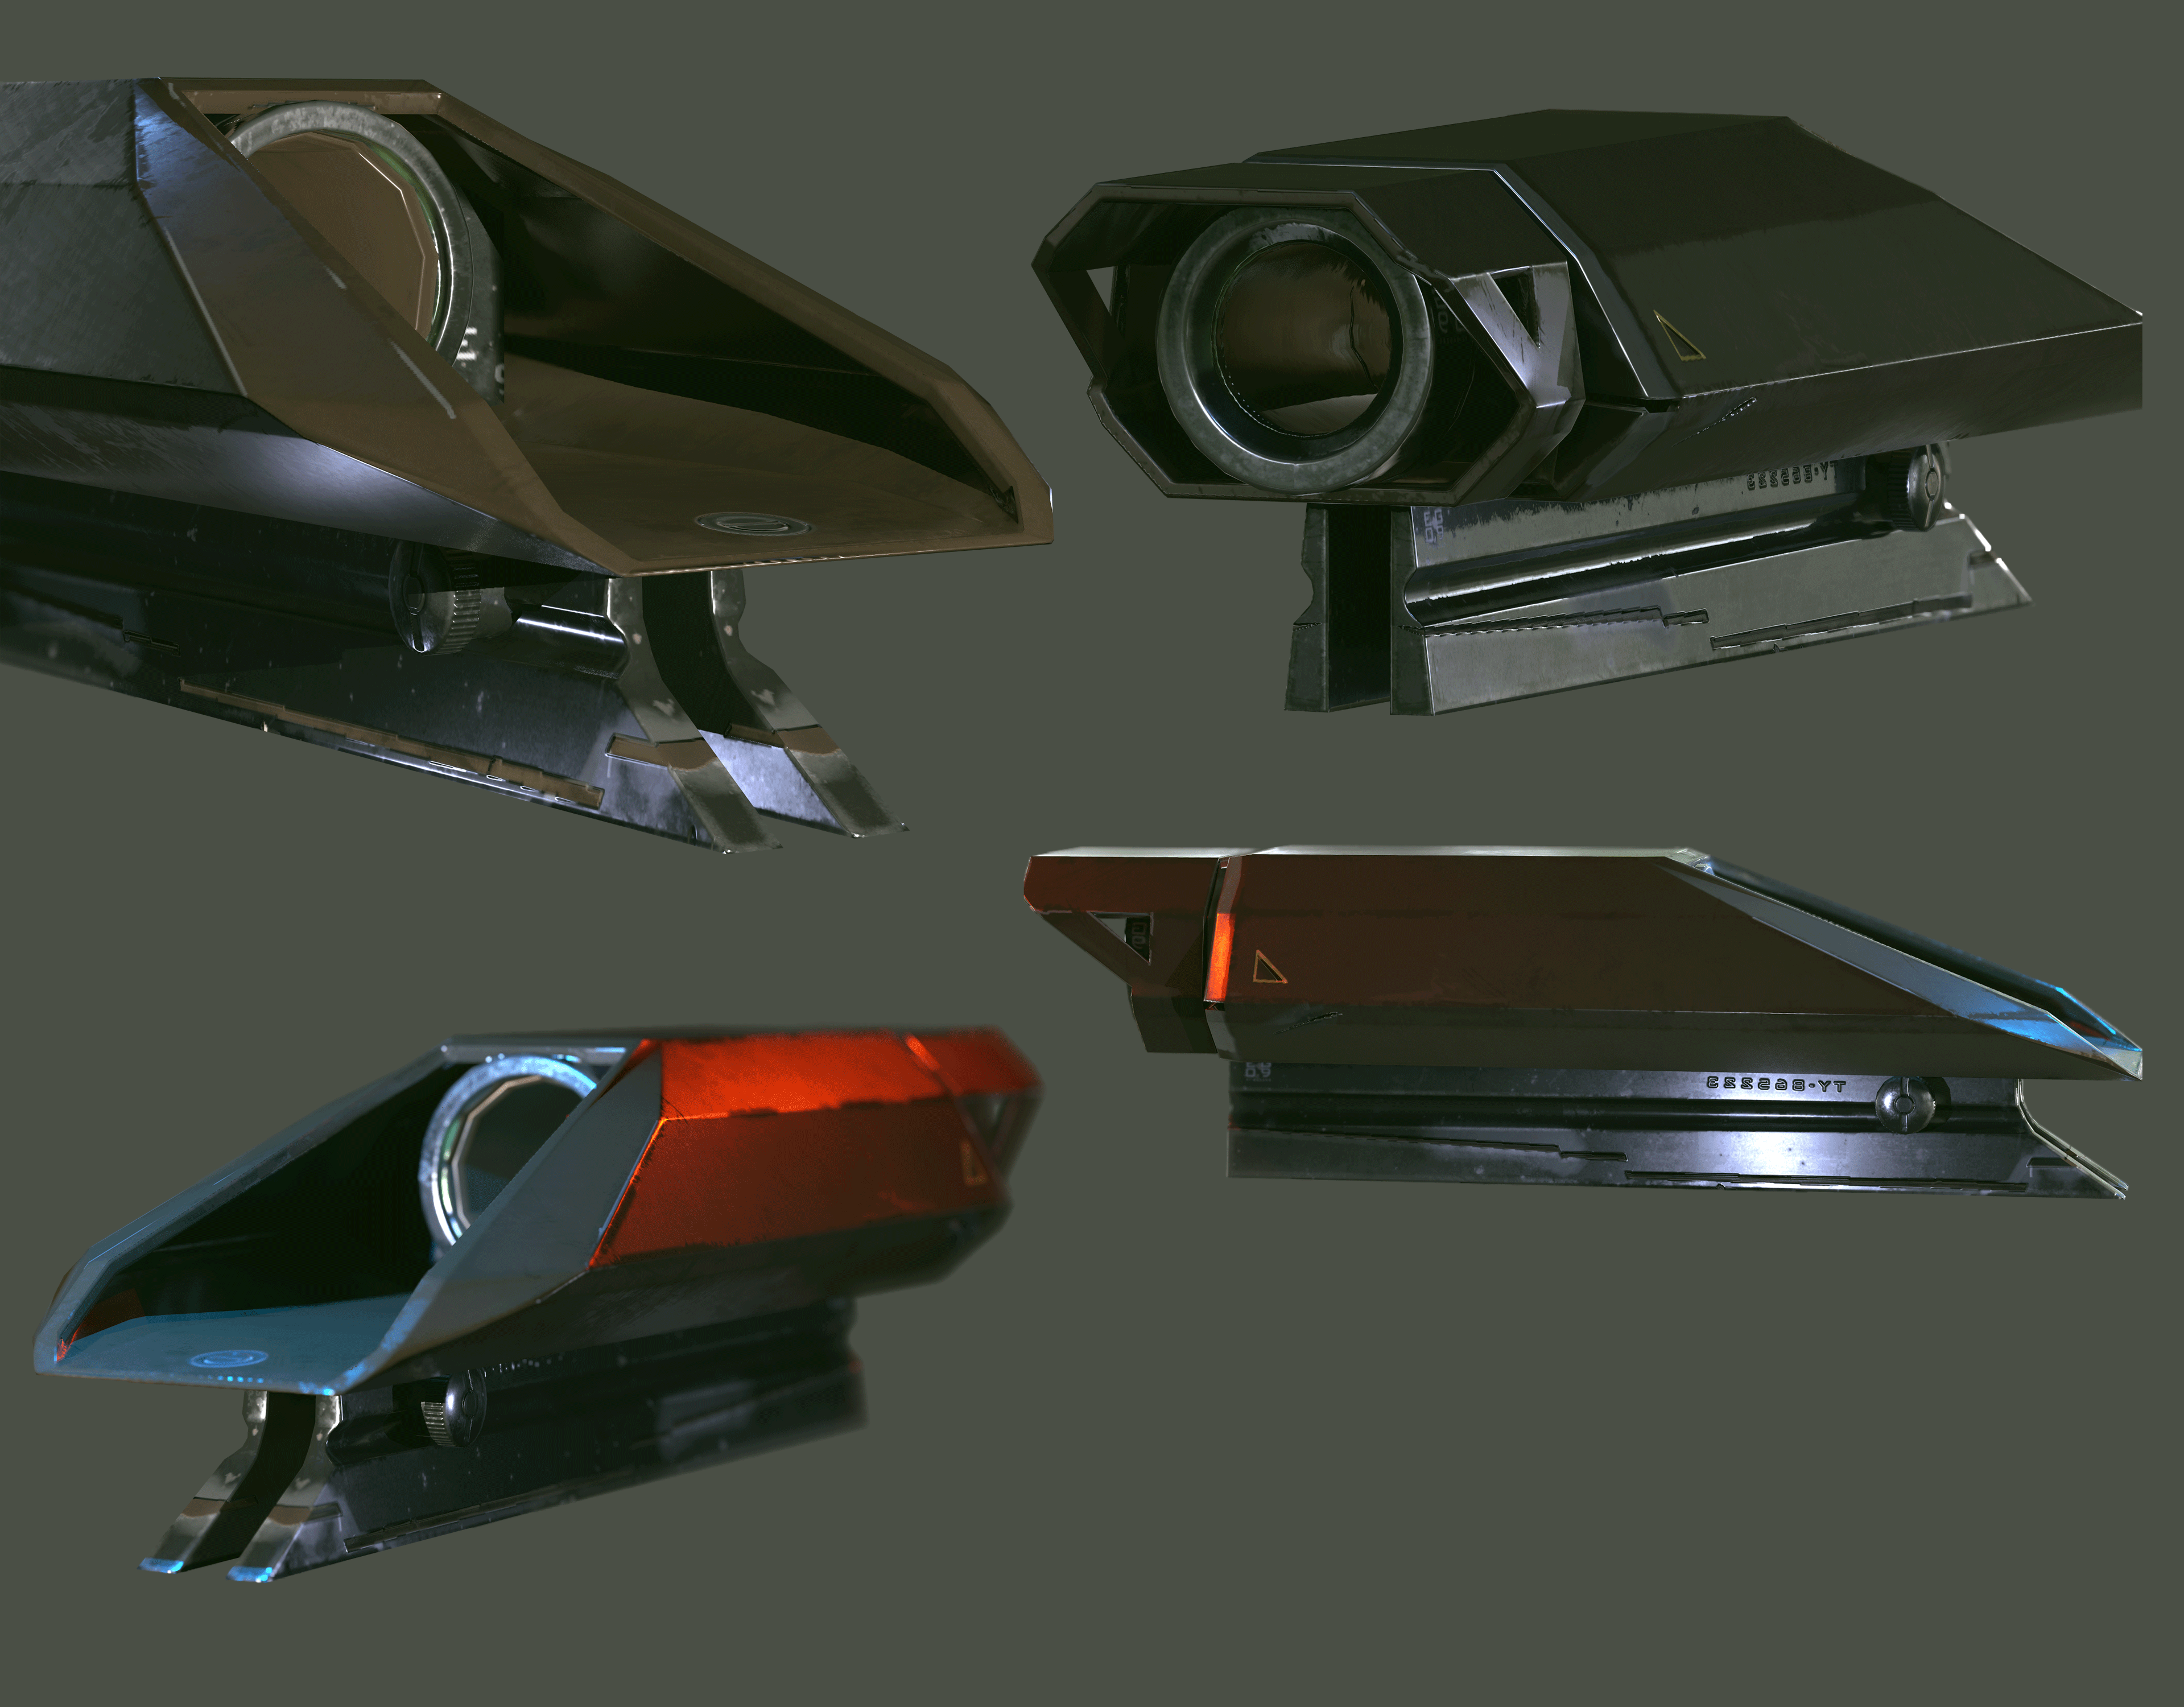
Scope, it was decided to separate from the model. And prepare as a separate asset, in the future, to be able to rearrange it to another weapon. I needed to fix the scan and rerun the textures with a lower resolution of 512x512.
create morphing
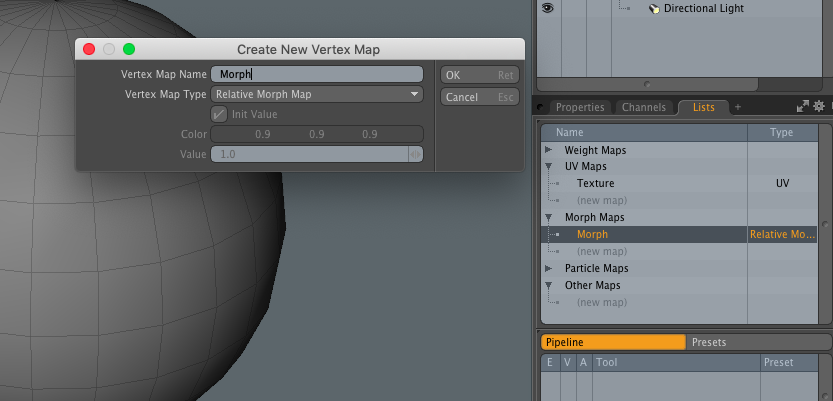
To create morphing on the model. Just go to the Lists tab -> Morph Maps and double click on the line (new map). In the window enter the name of the new Morph map. After that, any movements of the polygons and the object will be saved in morph distortion.
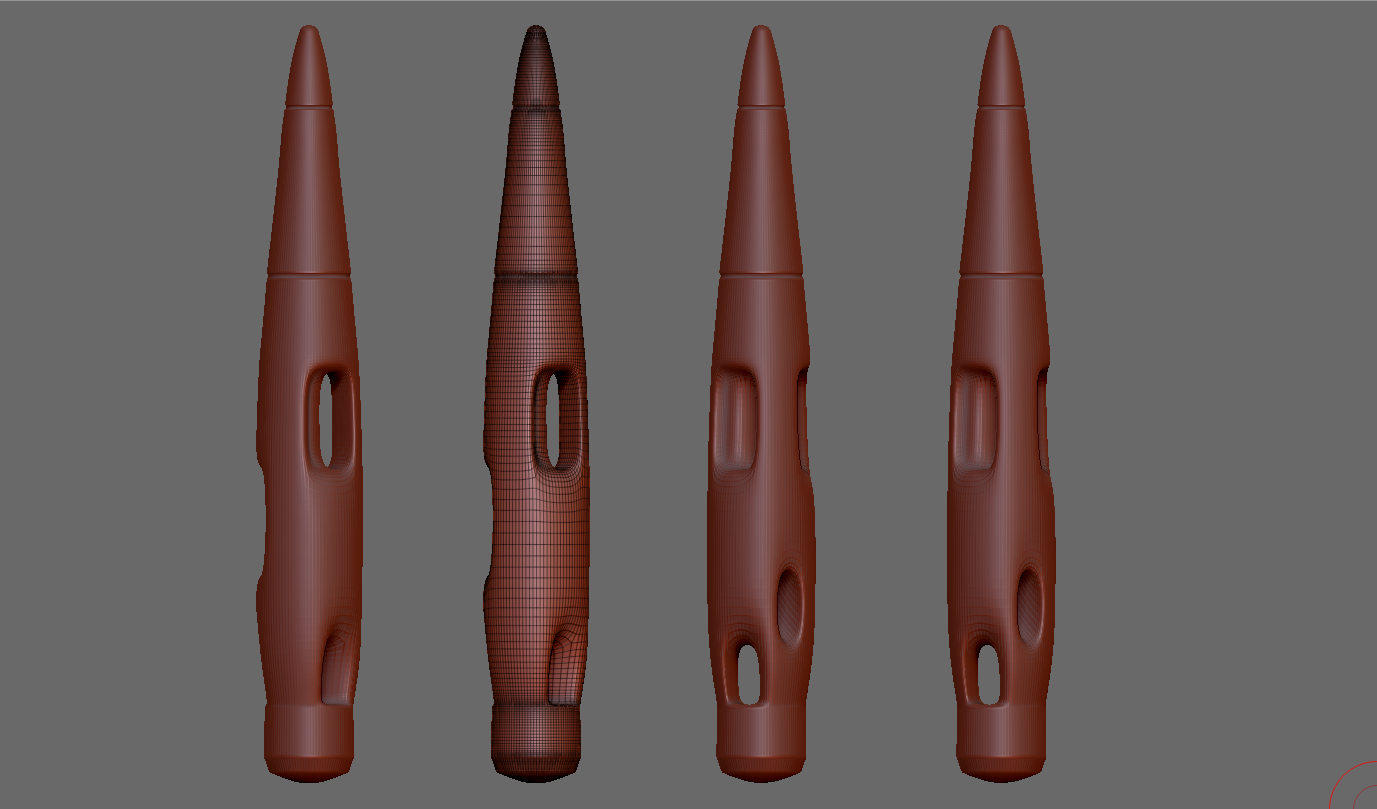
Ammunition
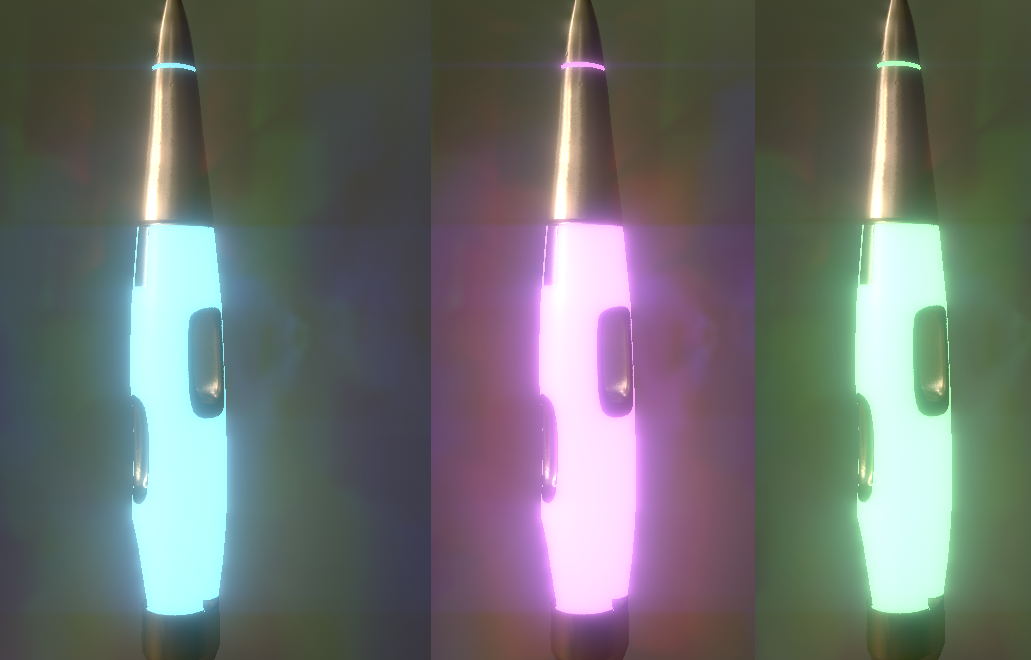
The model of the projectile is needed for decals when it hits the wall or barrier. And sometimes shells can fall to the floor. We experimented a bit with color and glow on the project. We wanted to understand how it will be more effective, because in VR g
CONCLUSION
Be sure to finish the first geometric sketch. It does not matter what quality it will be. Download it in the UE or Marmoset toolbag, turn on the shadows to assign materials and see in general. This will help you to see the 3D model from the Drugova perspe
CONCLUSION
Be sure to finish the first geometric sketch. It does not matter what quality it will be. Download it in the UE or Marmoset toolbag, turn on the shadows to assign materials and see in general. This will help you to see the 3D model from the Drugova perspe
Small studios, it is relaxing
In the first six months on freelancing, when a serious customer came, I was tense and wanted to show my maximum level, but such an overstrain binds my hands and head. At the exit, I am not getting any better than a satisfactory quality project. Another th
Collect sample questions in the list
Gradually, I formulated my own typical questions that are moving from project to project. For work with small companies and indie projects this can replace the technical task. This is similar to a check sheet with specifications for a model.
Operation mode
We can not neglect the regime of day and night for a long time, after 16 days the digestion is disturbed and the state of health worsens. Since the scope of work on this project was large, I wanted to recycle it as soon as possible by working until the ne

